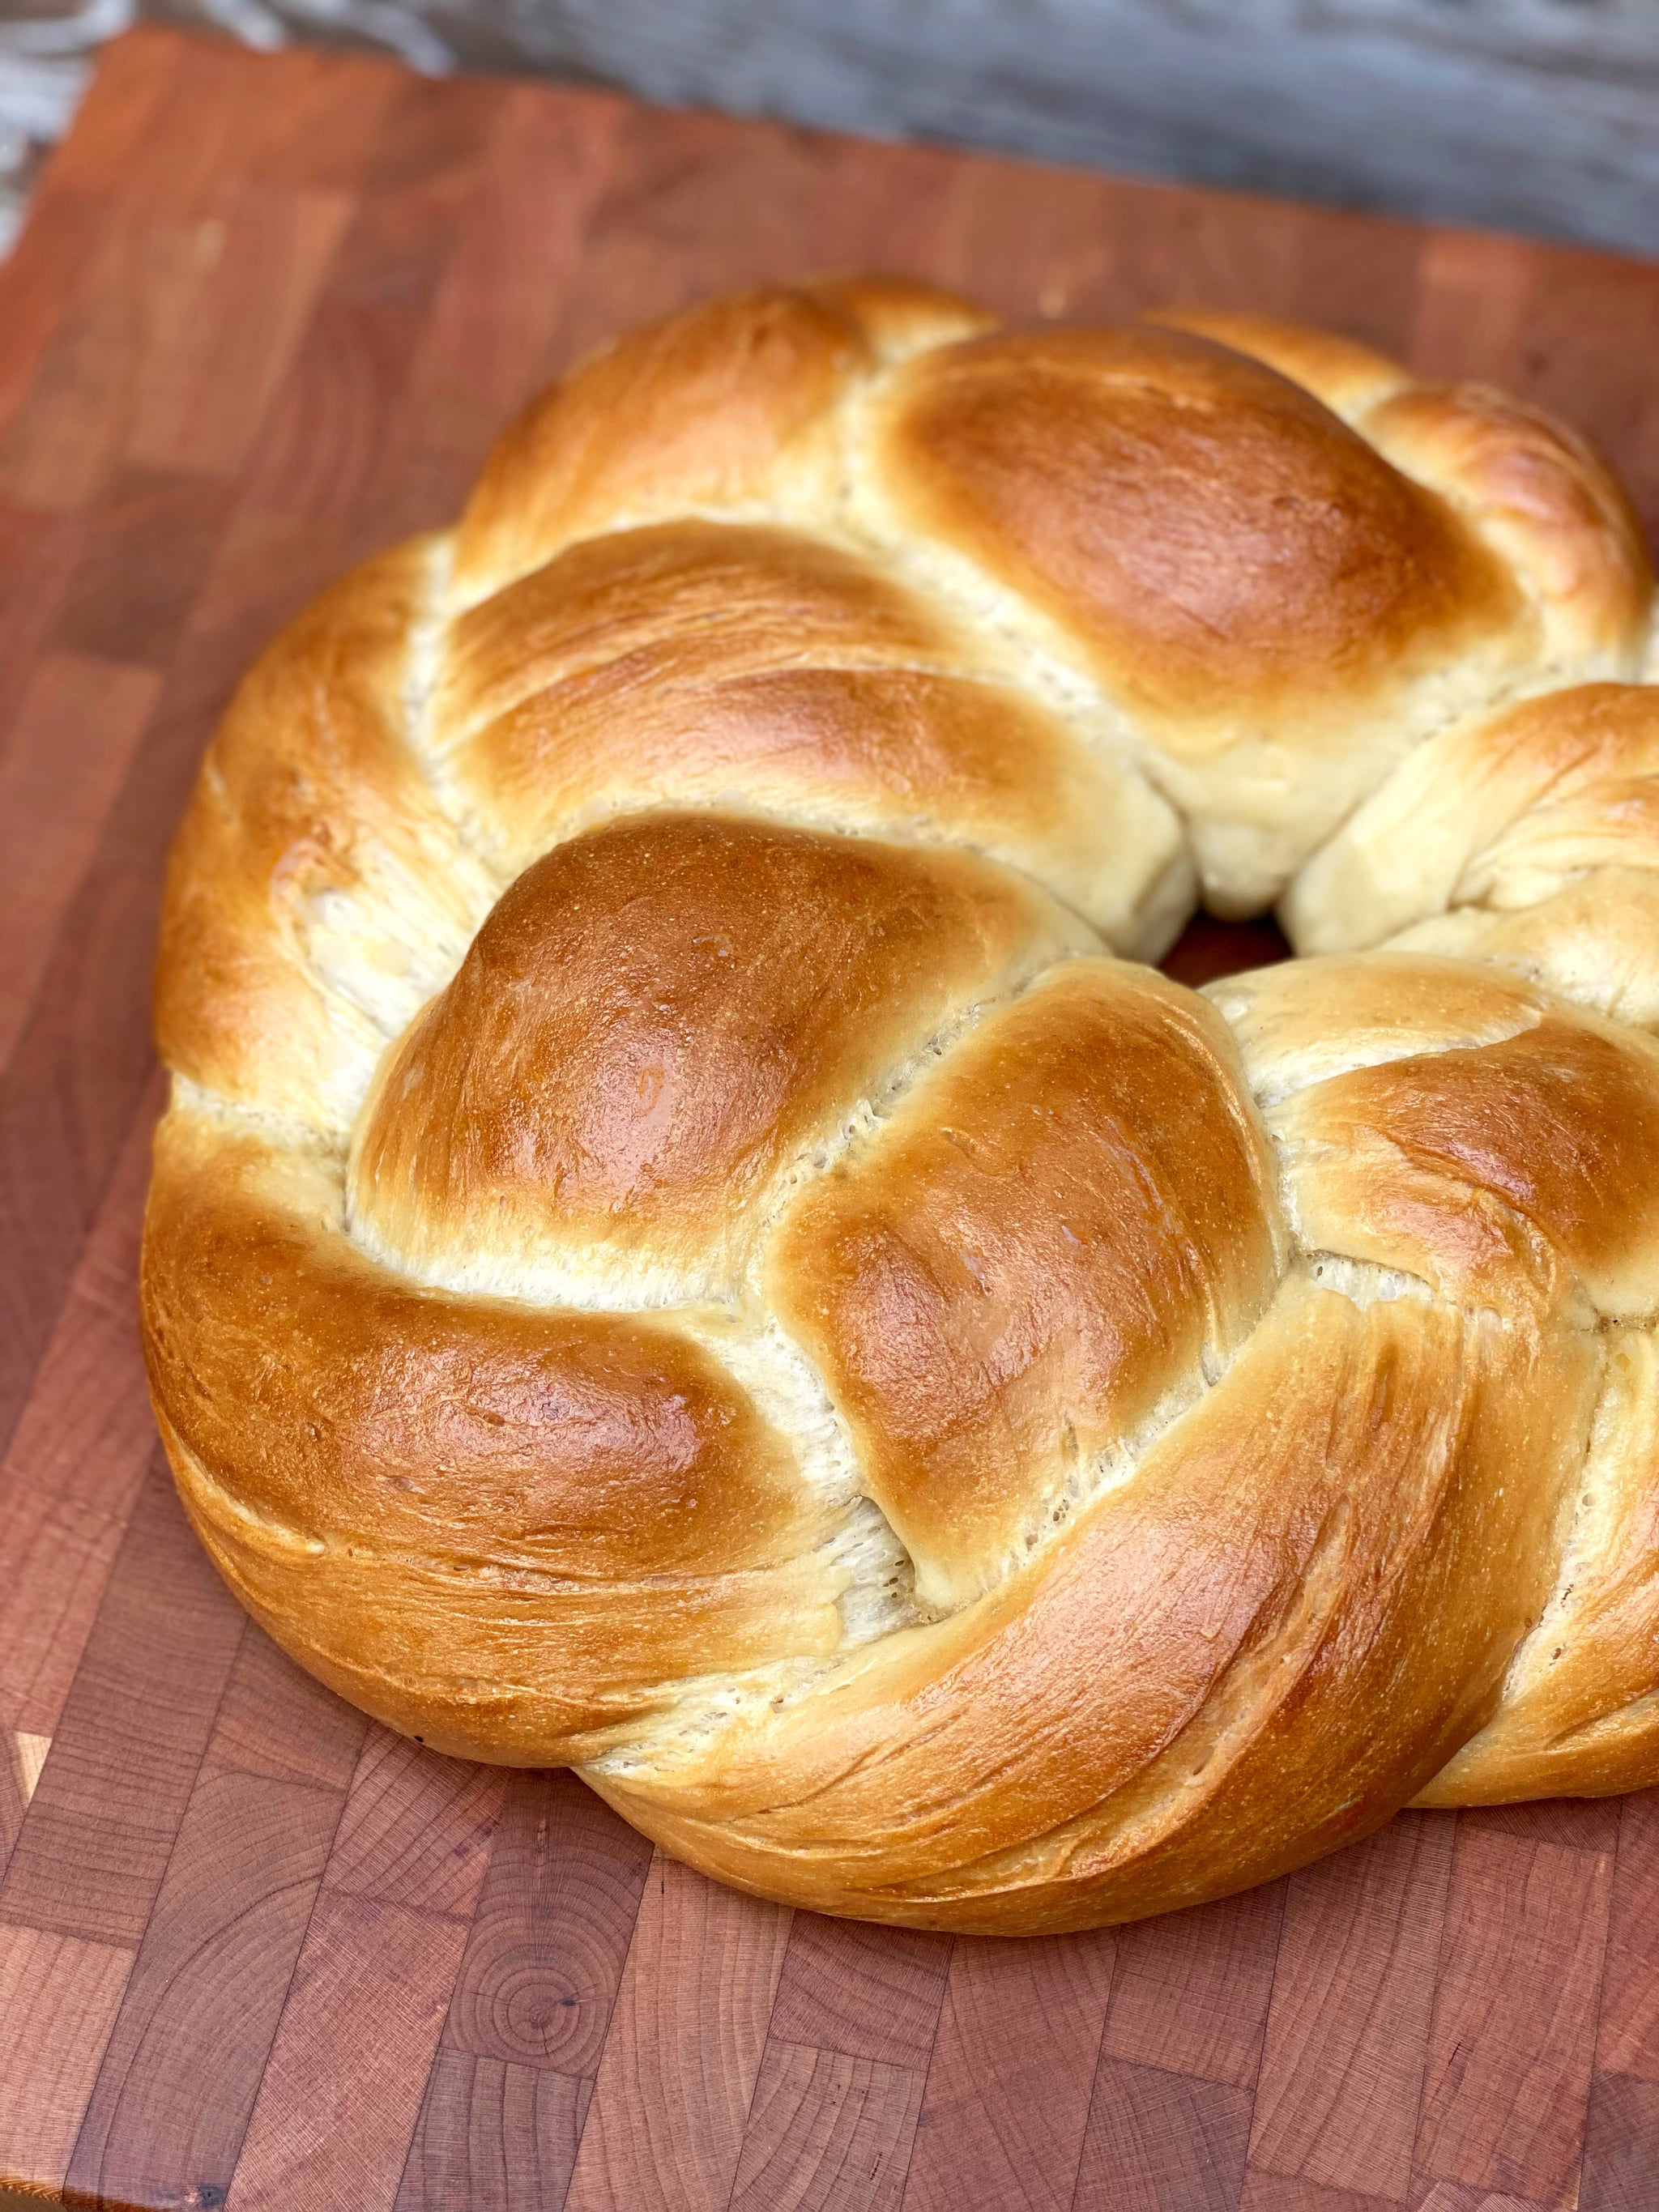
Growing up Jewish meant challah! On Friday nights and special occasions, it was always one of the tastiest traditions — nothing compares to the beautifully braided shape, the shiny crust, and the soft, squishy texture. When I went vegan, I sadly thought I had to give it up since it’s traditionally made with eggs and honey. But then I tried this easy recipe, and now I’m back to ripping off pieces of challah and making next-day French toast — that is if there’s any left over!
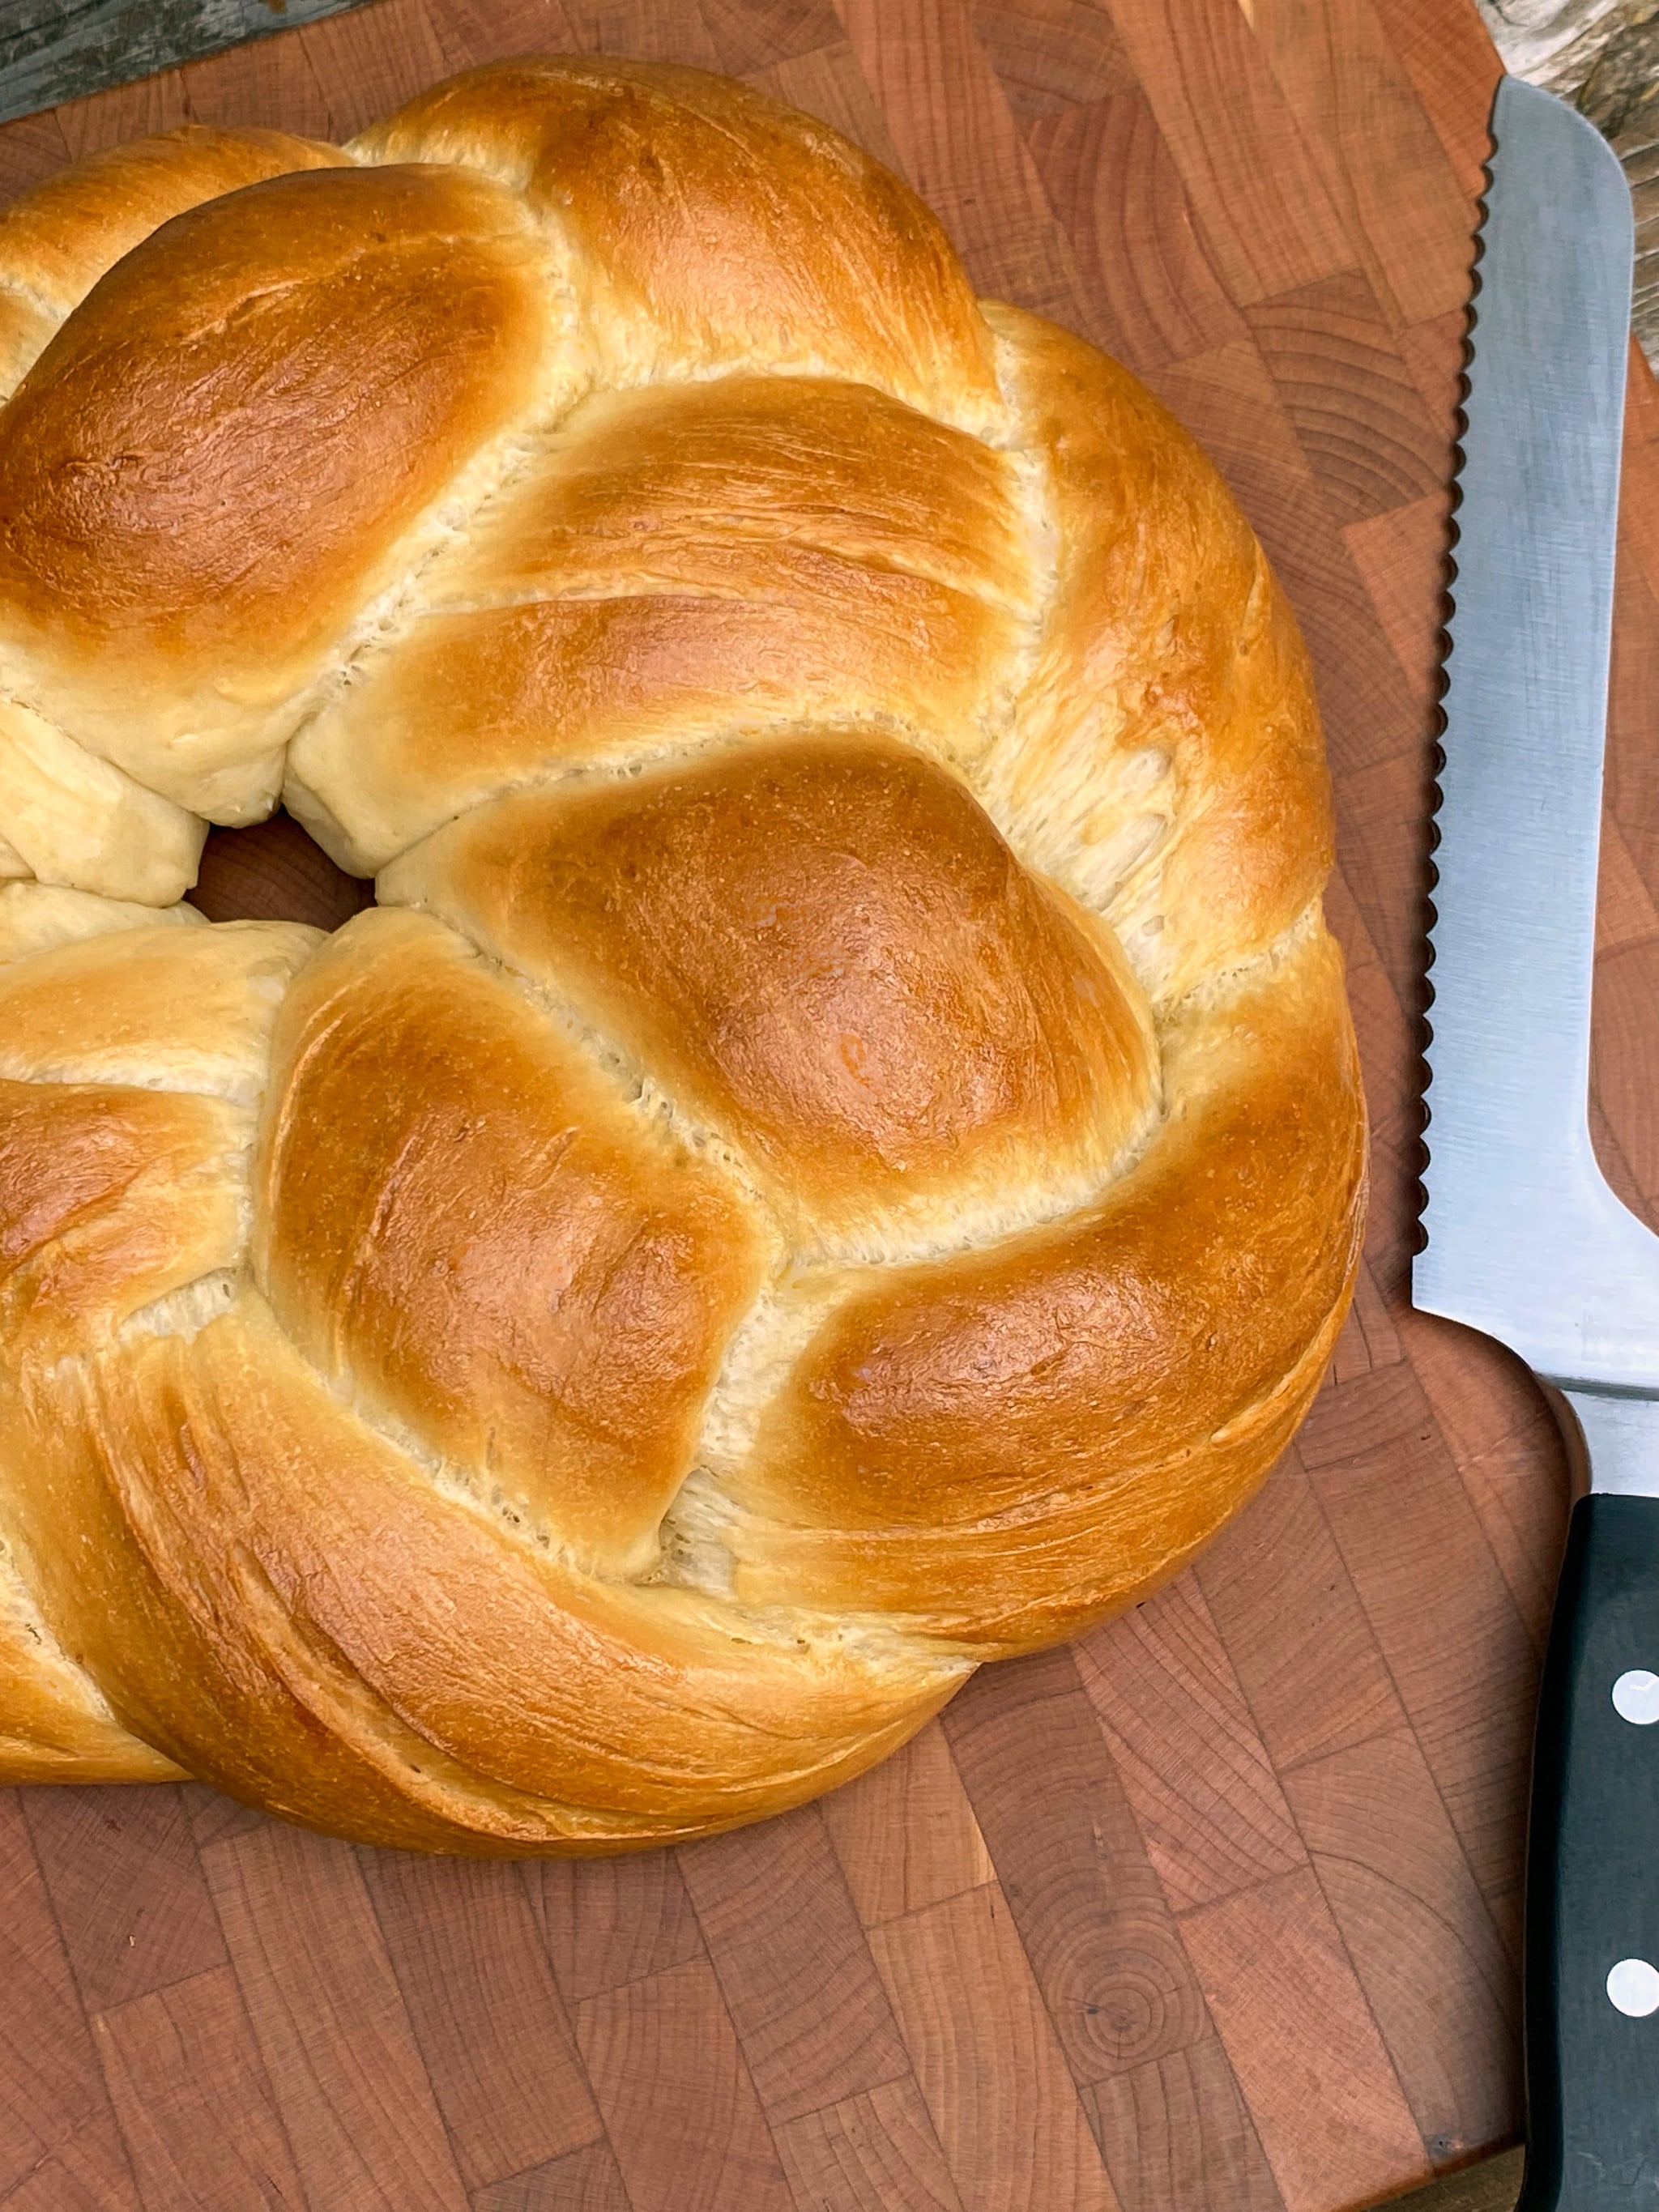
This is the best homemade challah recipe, and it’s not only for master bakers! This recipe is made with simple ingredients and basic instructions, and if you’ve never baked challah before, you’ll be biting into this warm, soft bread in less than three hours. I made a traditional round shape, but you can get fancier and do multiple braids with six or even 12 strands.
Ingredients
- Dough:
1 cup warm water (not hot!), more if needed
6 tablespoons organic sugar, divided (or coconut sugar)
4 to 4 1/2 cups plus 1 tablespoon all-purpose flour, divided
2 1/4 teaspoons yeast (or 1 packet)
1/4 cup coconut oil, melted but not hot
- Glaze:
1 tablespoon unsweetened soy milk
1 tablespoon maple syrup
Directions
- Turn your oven on to the proof setting (around 80°F) if it has it. Otherwise, make sure you have a warm spot where you can place the dough to rise.
- In the bowl of a stand mixer (or in a large bowl if you don’t have one), add the warm water, three tablespoons of the sugar, and one tablespoon of the flour. Whisk to combine.
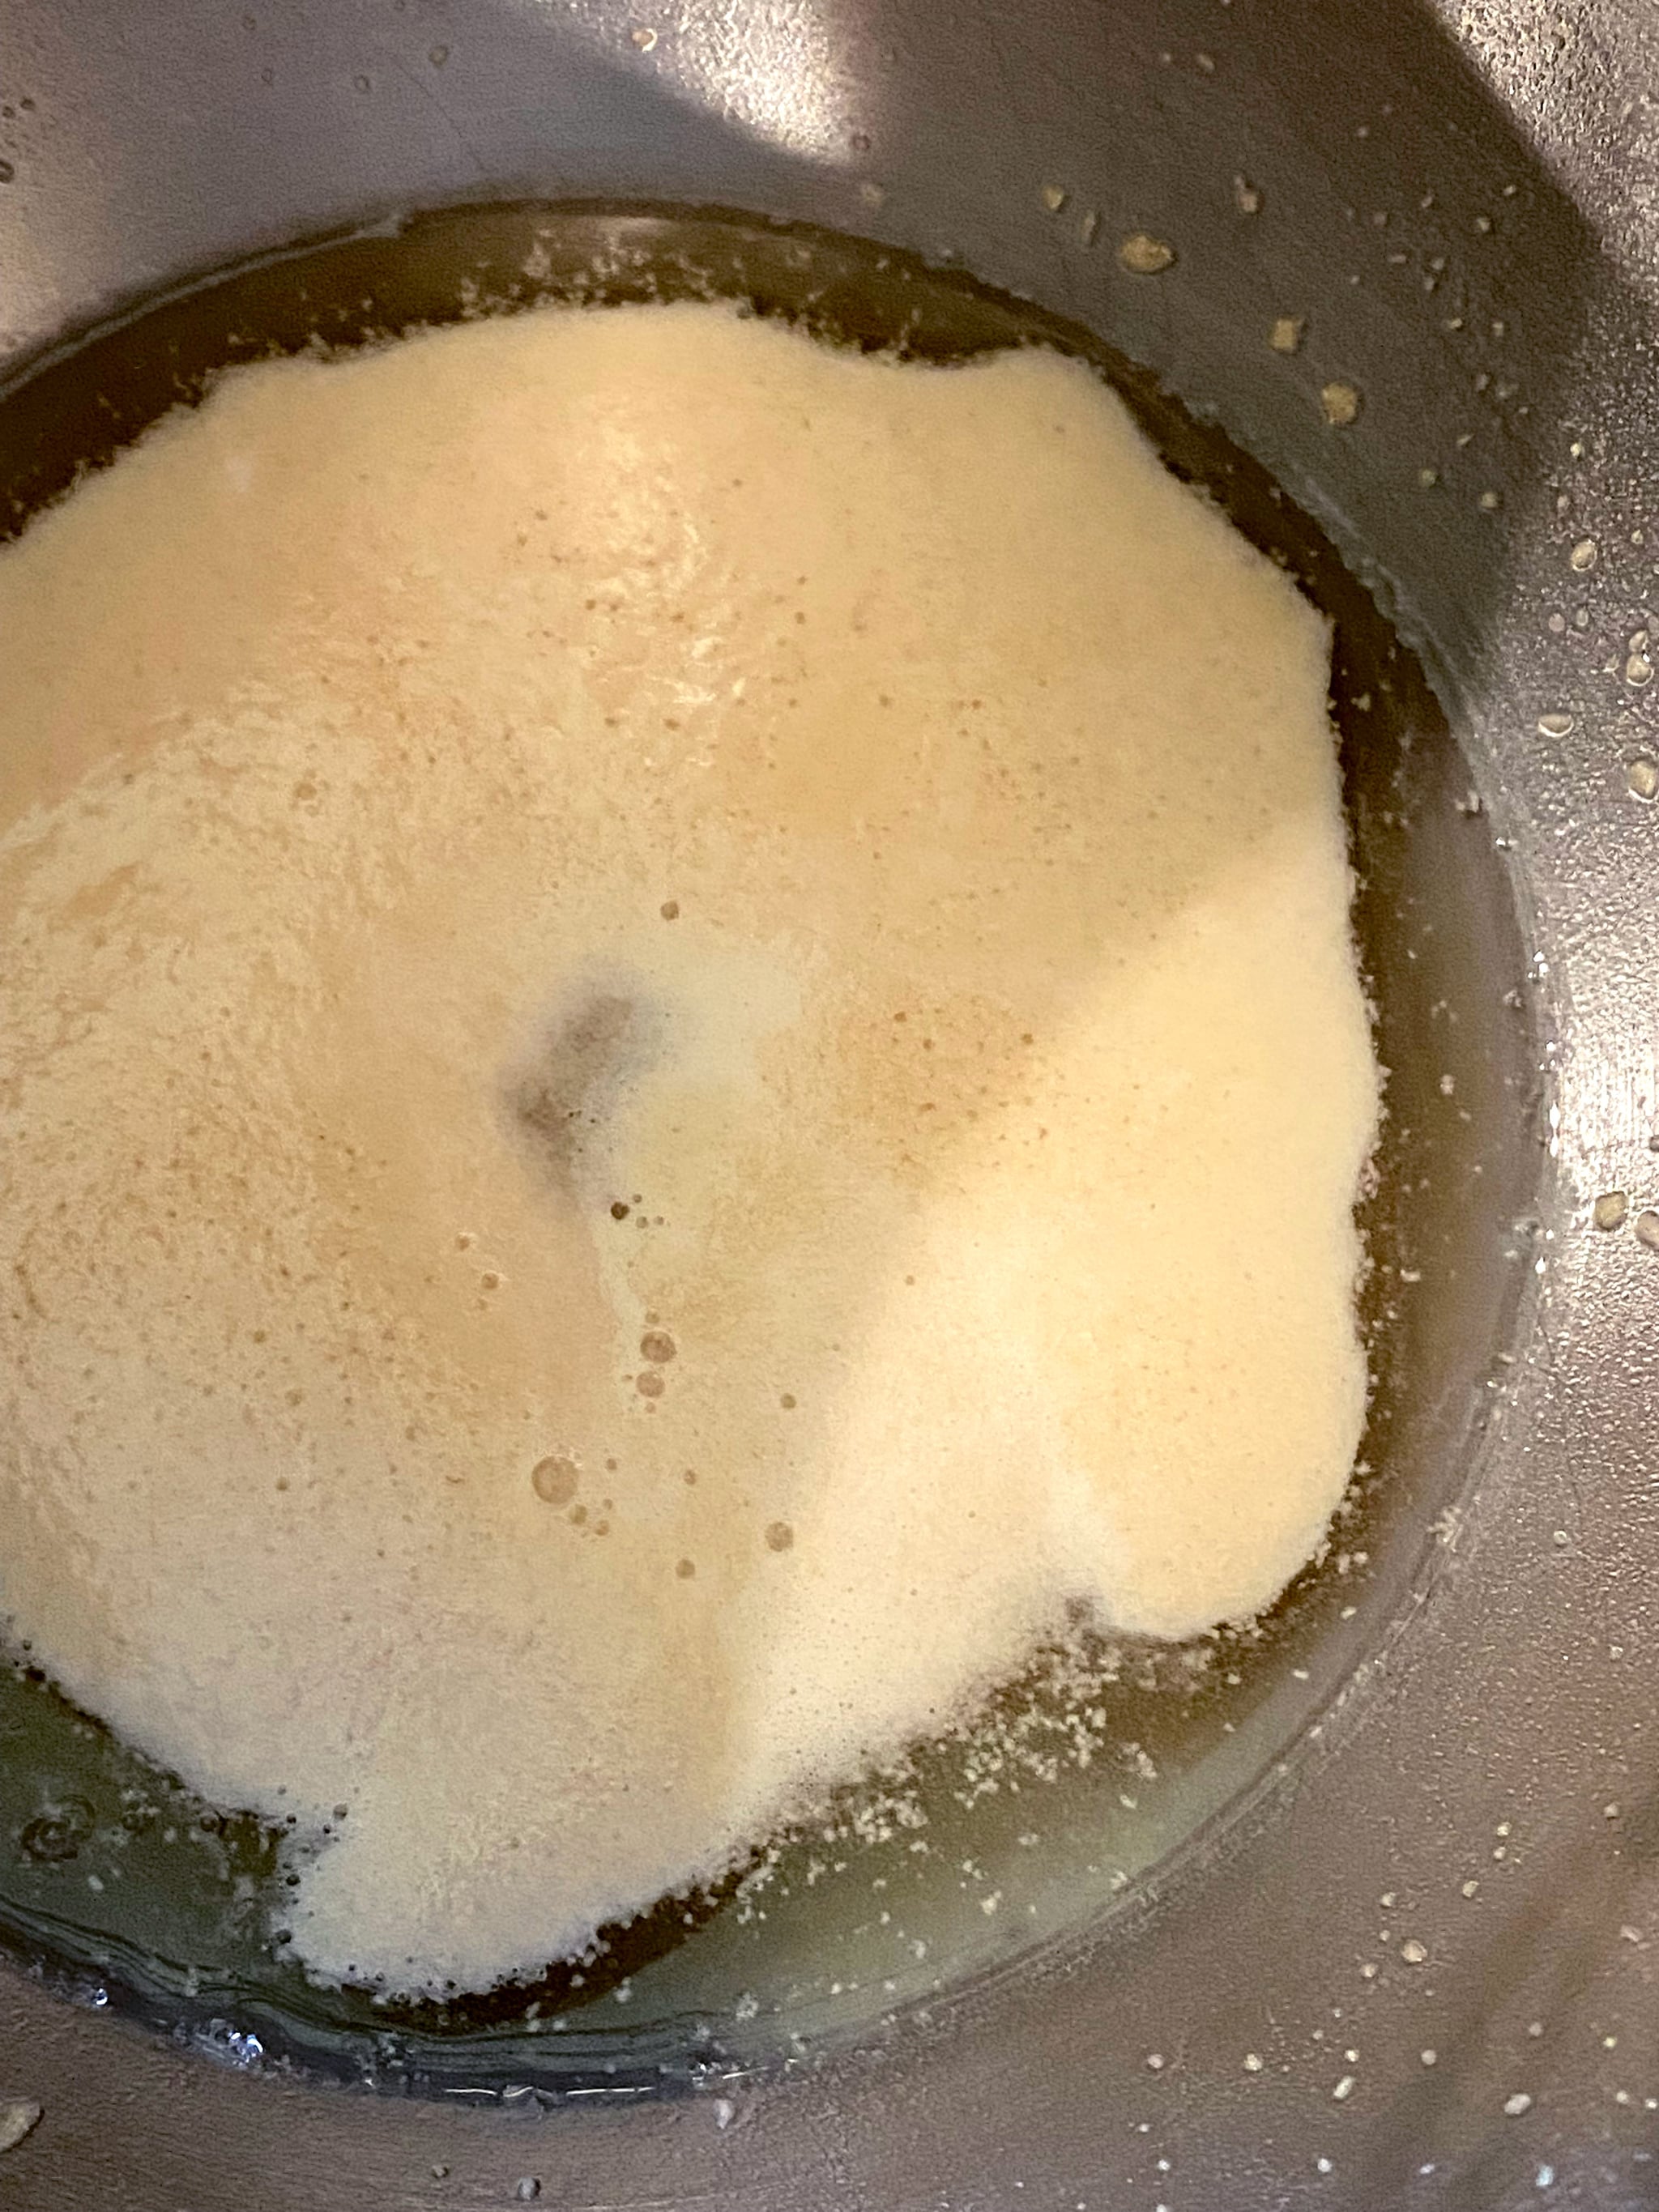
- Using the whisk attachment or mixing by hand, whisk in the yeast and let it rest for 10 minutes to activate. You’ll know it’s ready when you see a layer of foam on the top as shown in the photo.
- Sift in four cups of flour in half-cup increments, stirring after each half-cup. The dough with be slightly sticky and lumpy. If it’s too wet, add in the last half cup of flour. If the dough is too dry and hasn’t absorbed all the flour, add in warm water one tablespoon at a time.
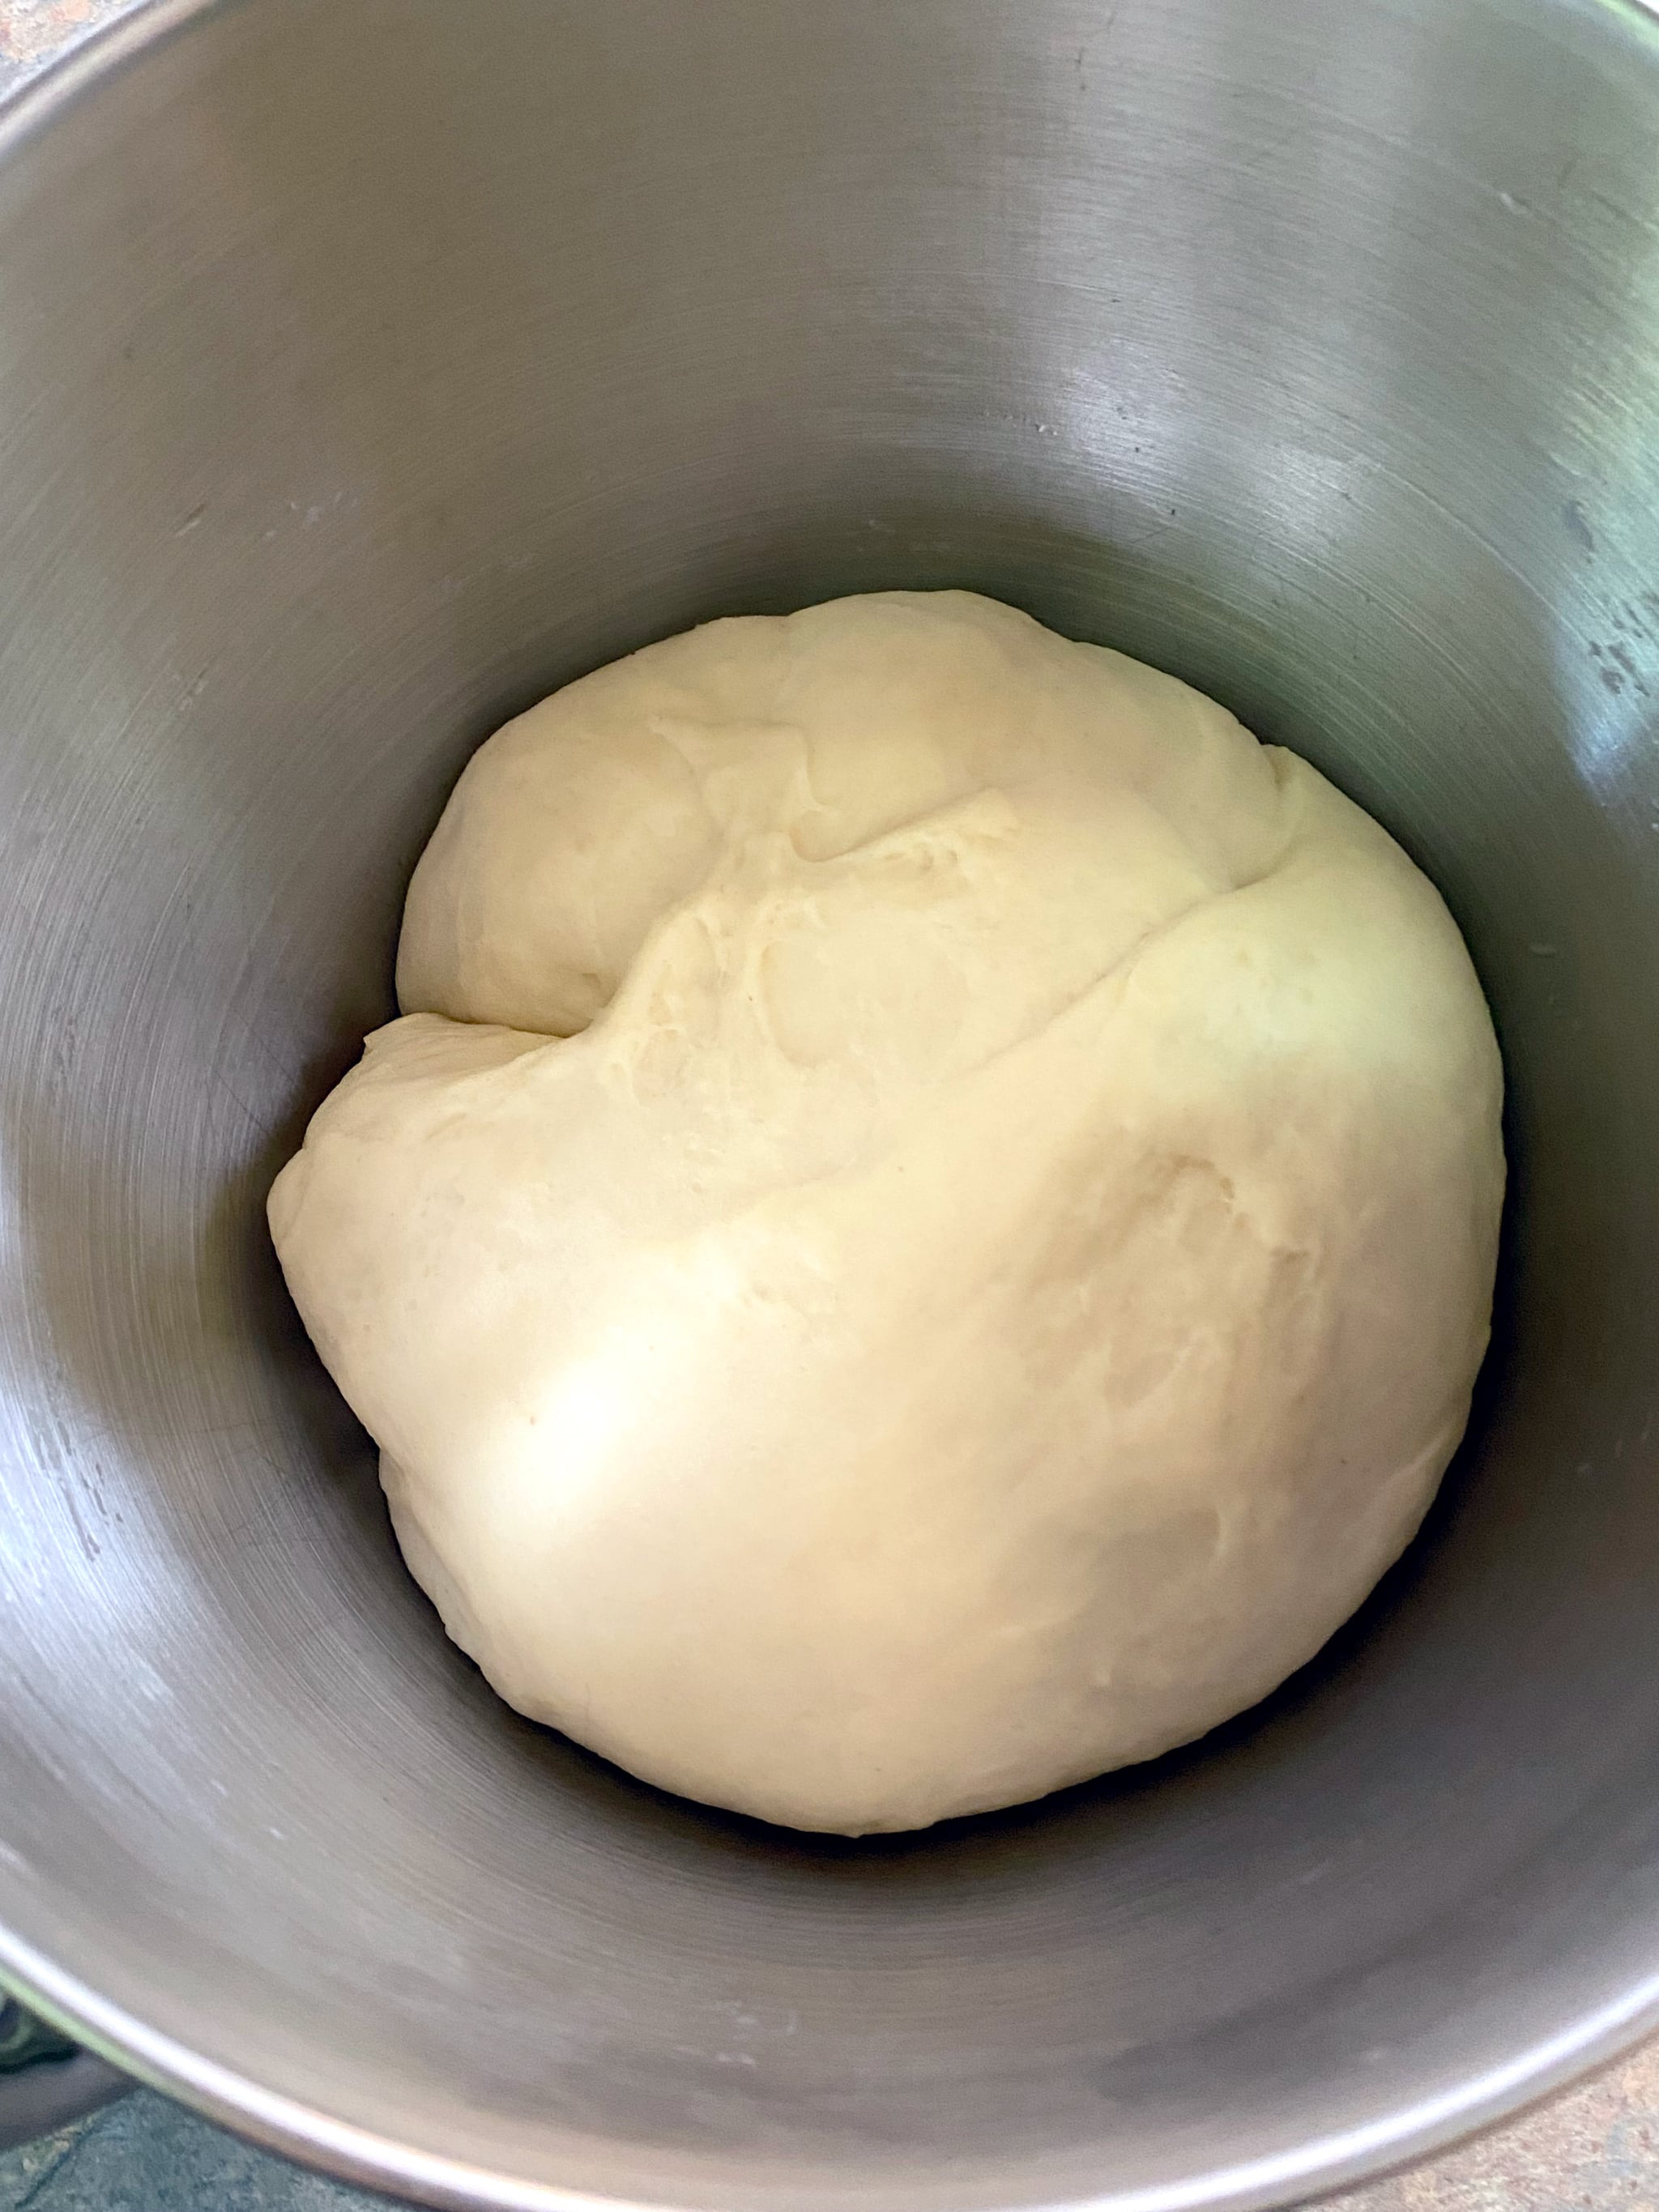
- Switch to the dough hook or place the dough on a lightly floured surface. Knead for about five minutes, until the dough is smooth and springy. If you used a stand mixer, remove the dough, lightly oil the bowl, and place the dough back in the bowl. If you kneaded by hand, lightly oil a clean bowl and place your dough in the bottom.
- Cover the bowl with a clean, dry towel, and place in your oven with the proof setting on, or in a warm place.
- Let the dough rise until it has doubled in size, 30 to 60 minutes.
- After it’s doubled, punch the dough down with your fist and place it on a lightly floured surface to knead for two to five minutes.
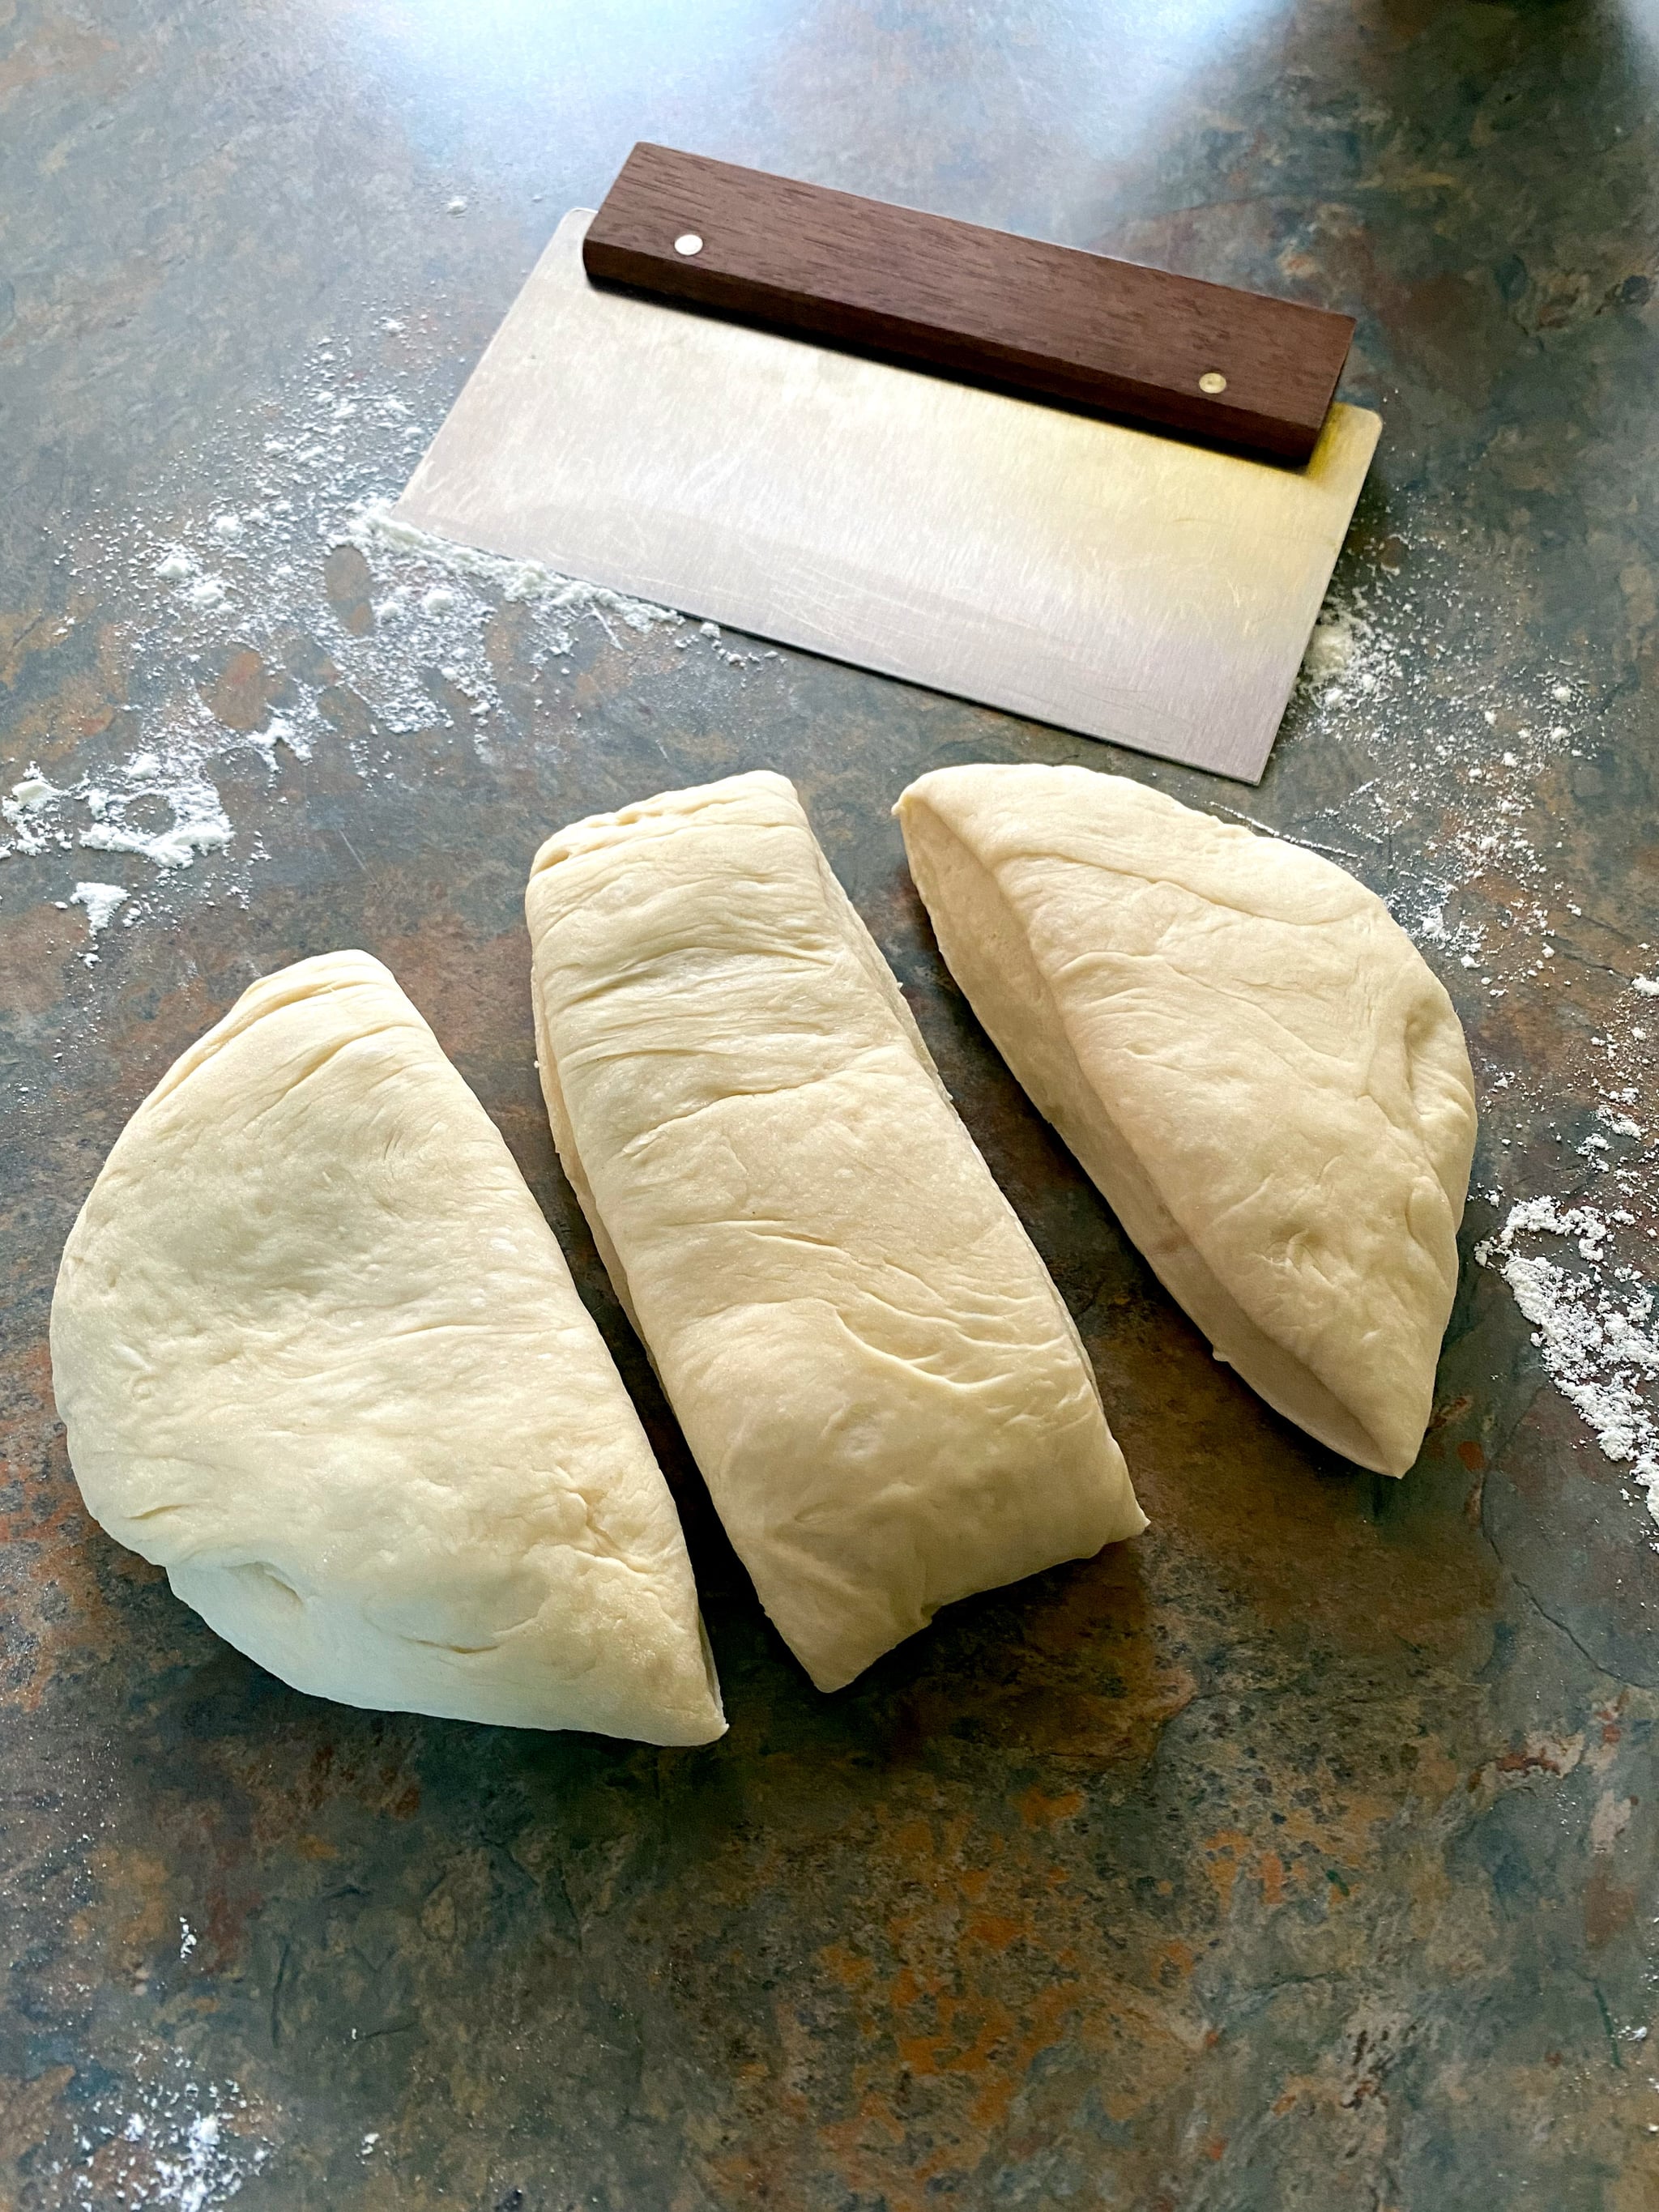
- Using a large sharp knife or bench scraper, cut the dough into three equal pieces.
- Roll each piece into a long strand, about 12 to 16 inches long.
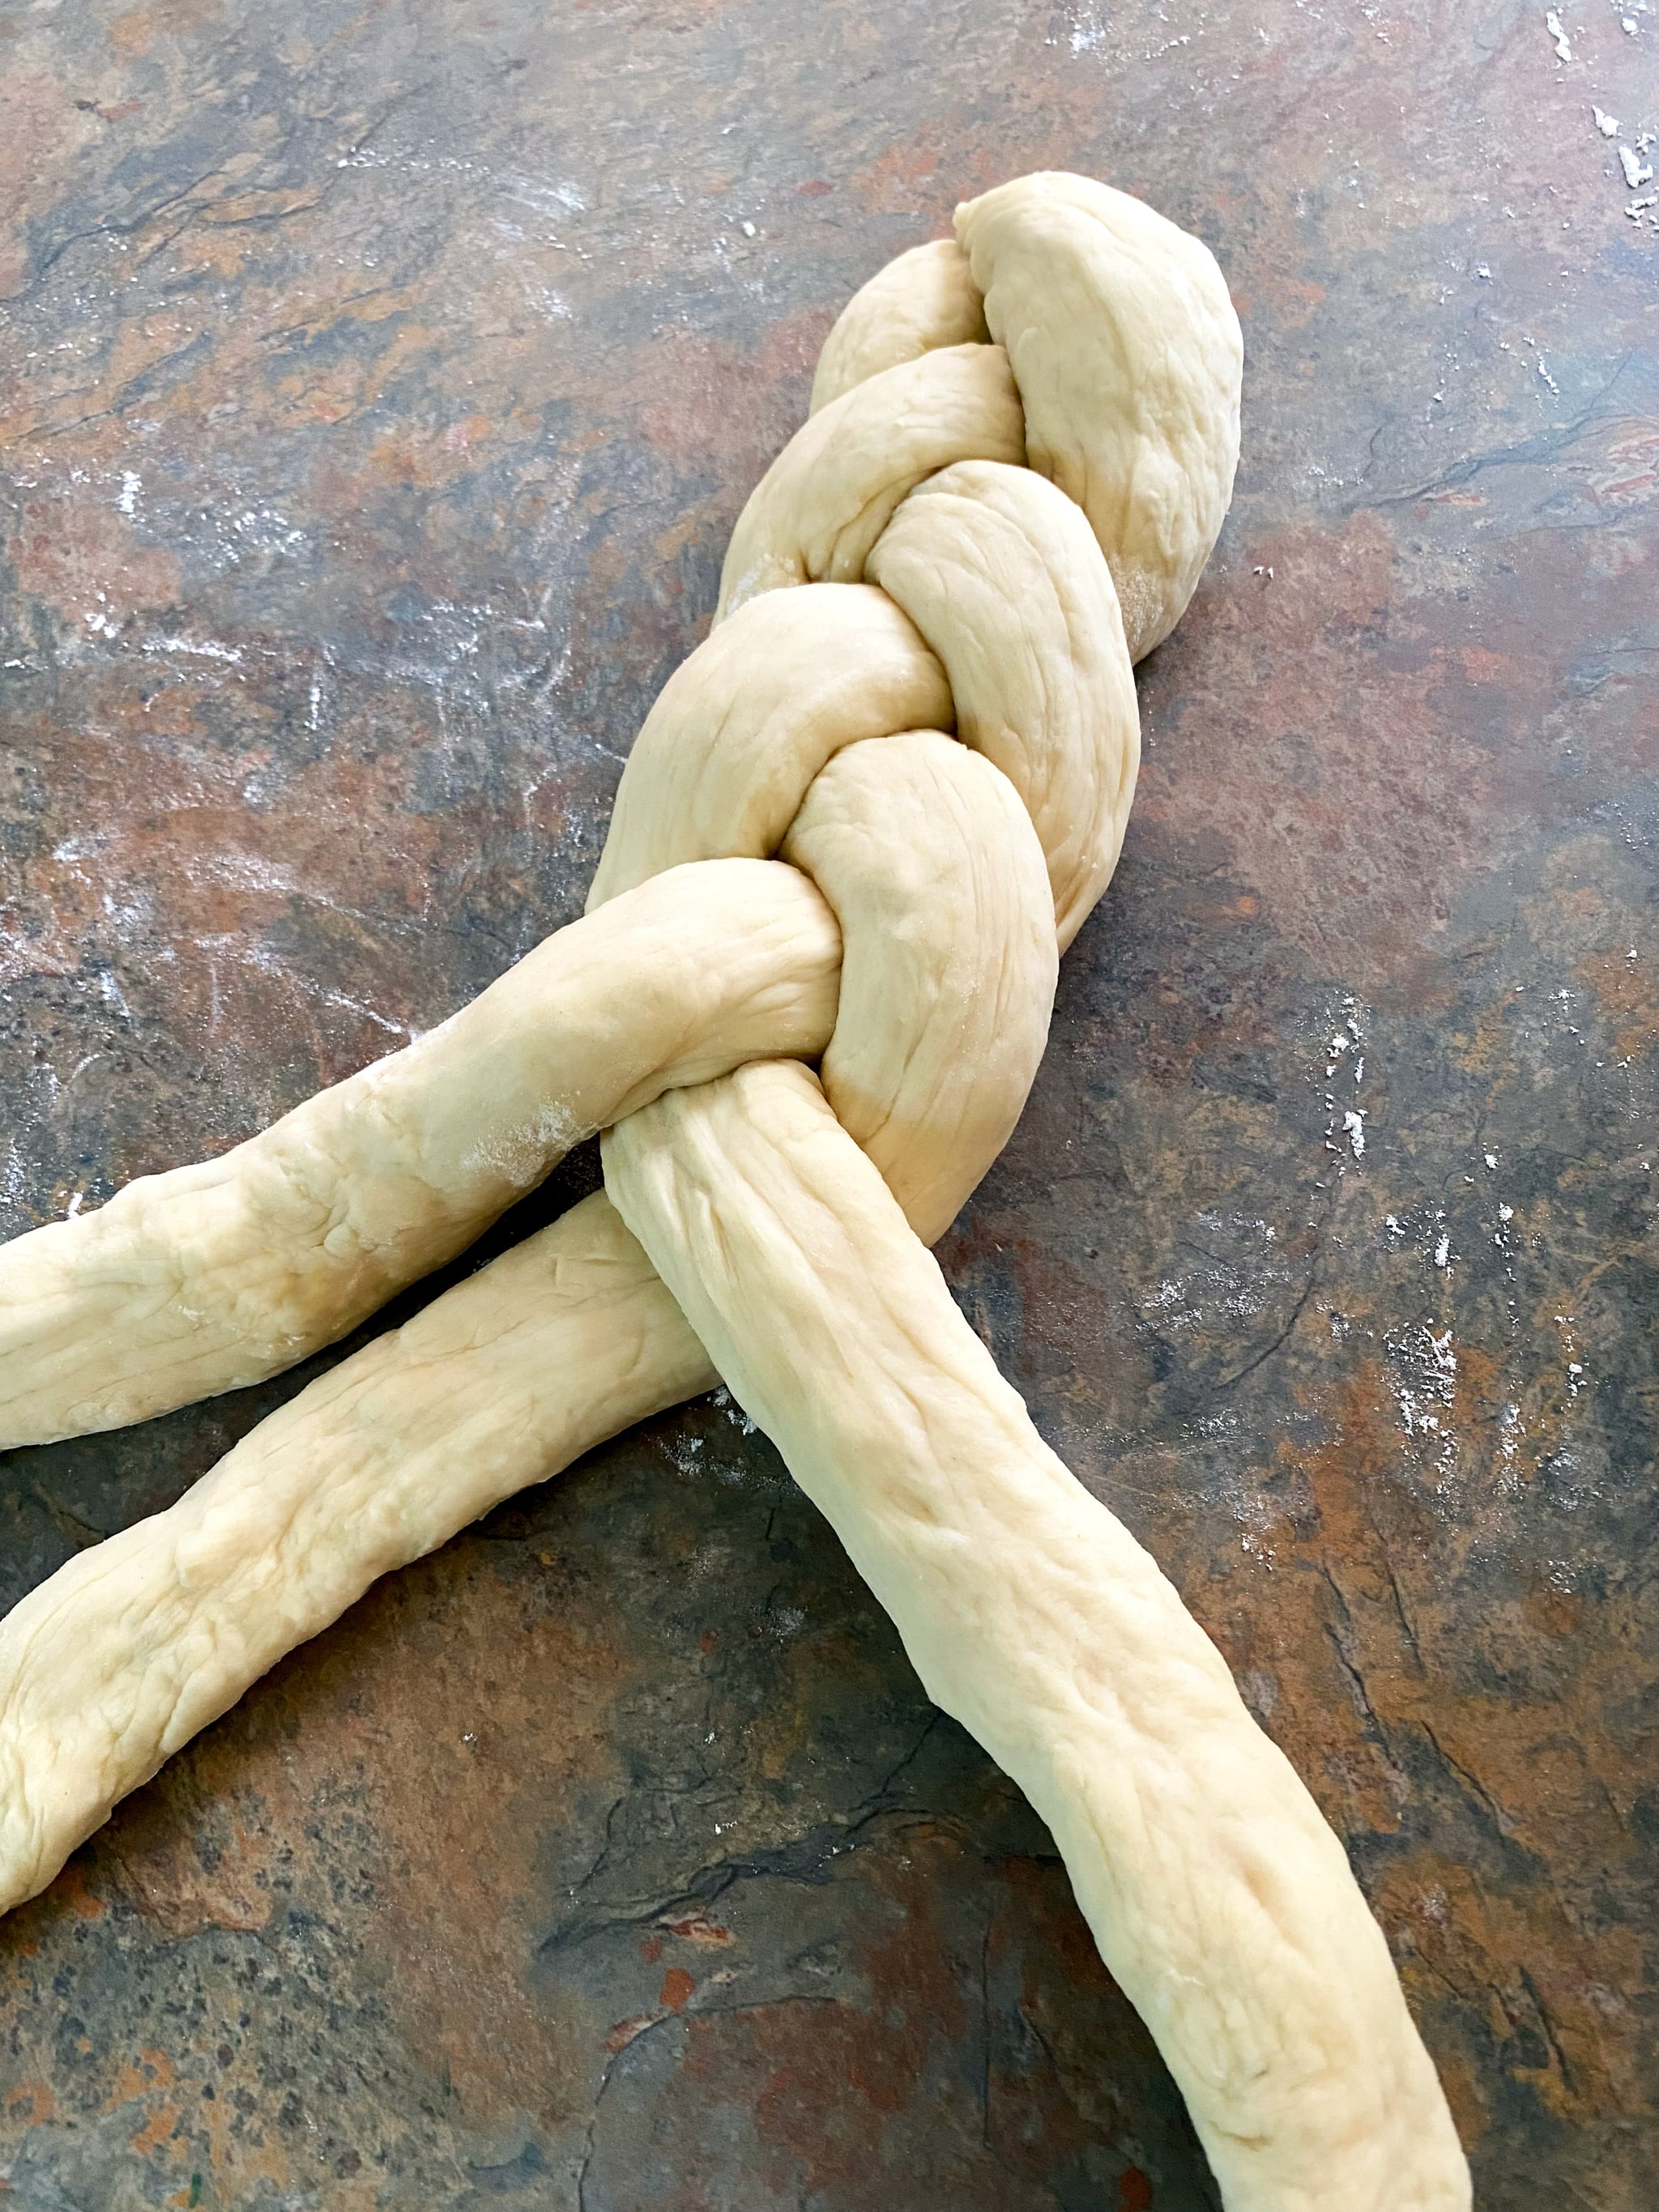
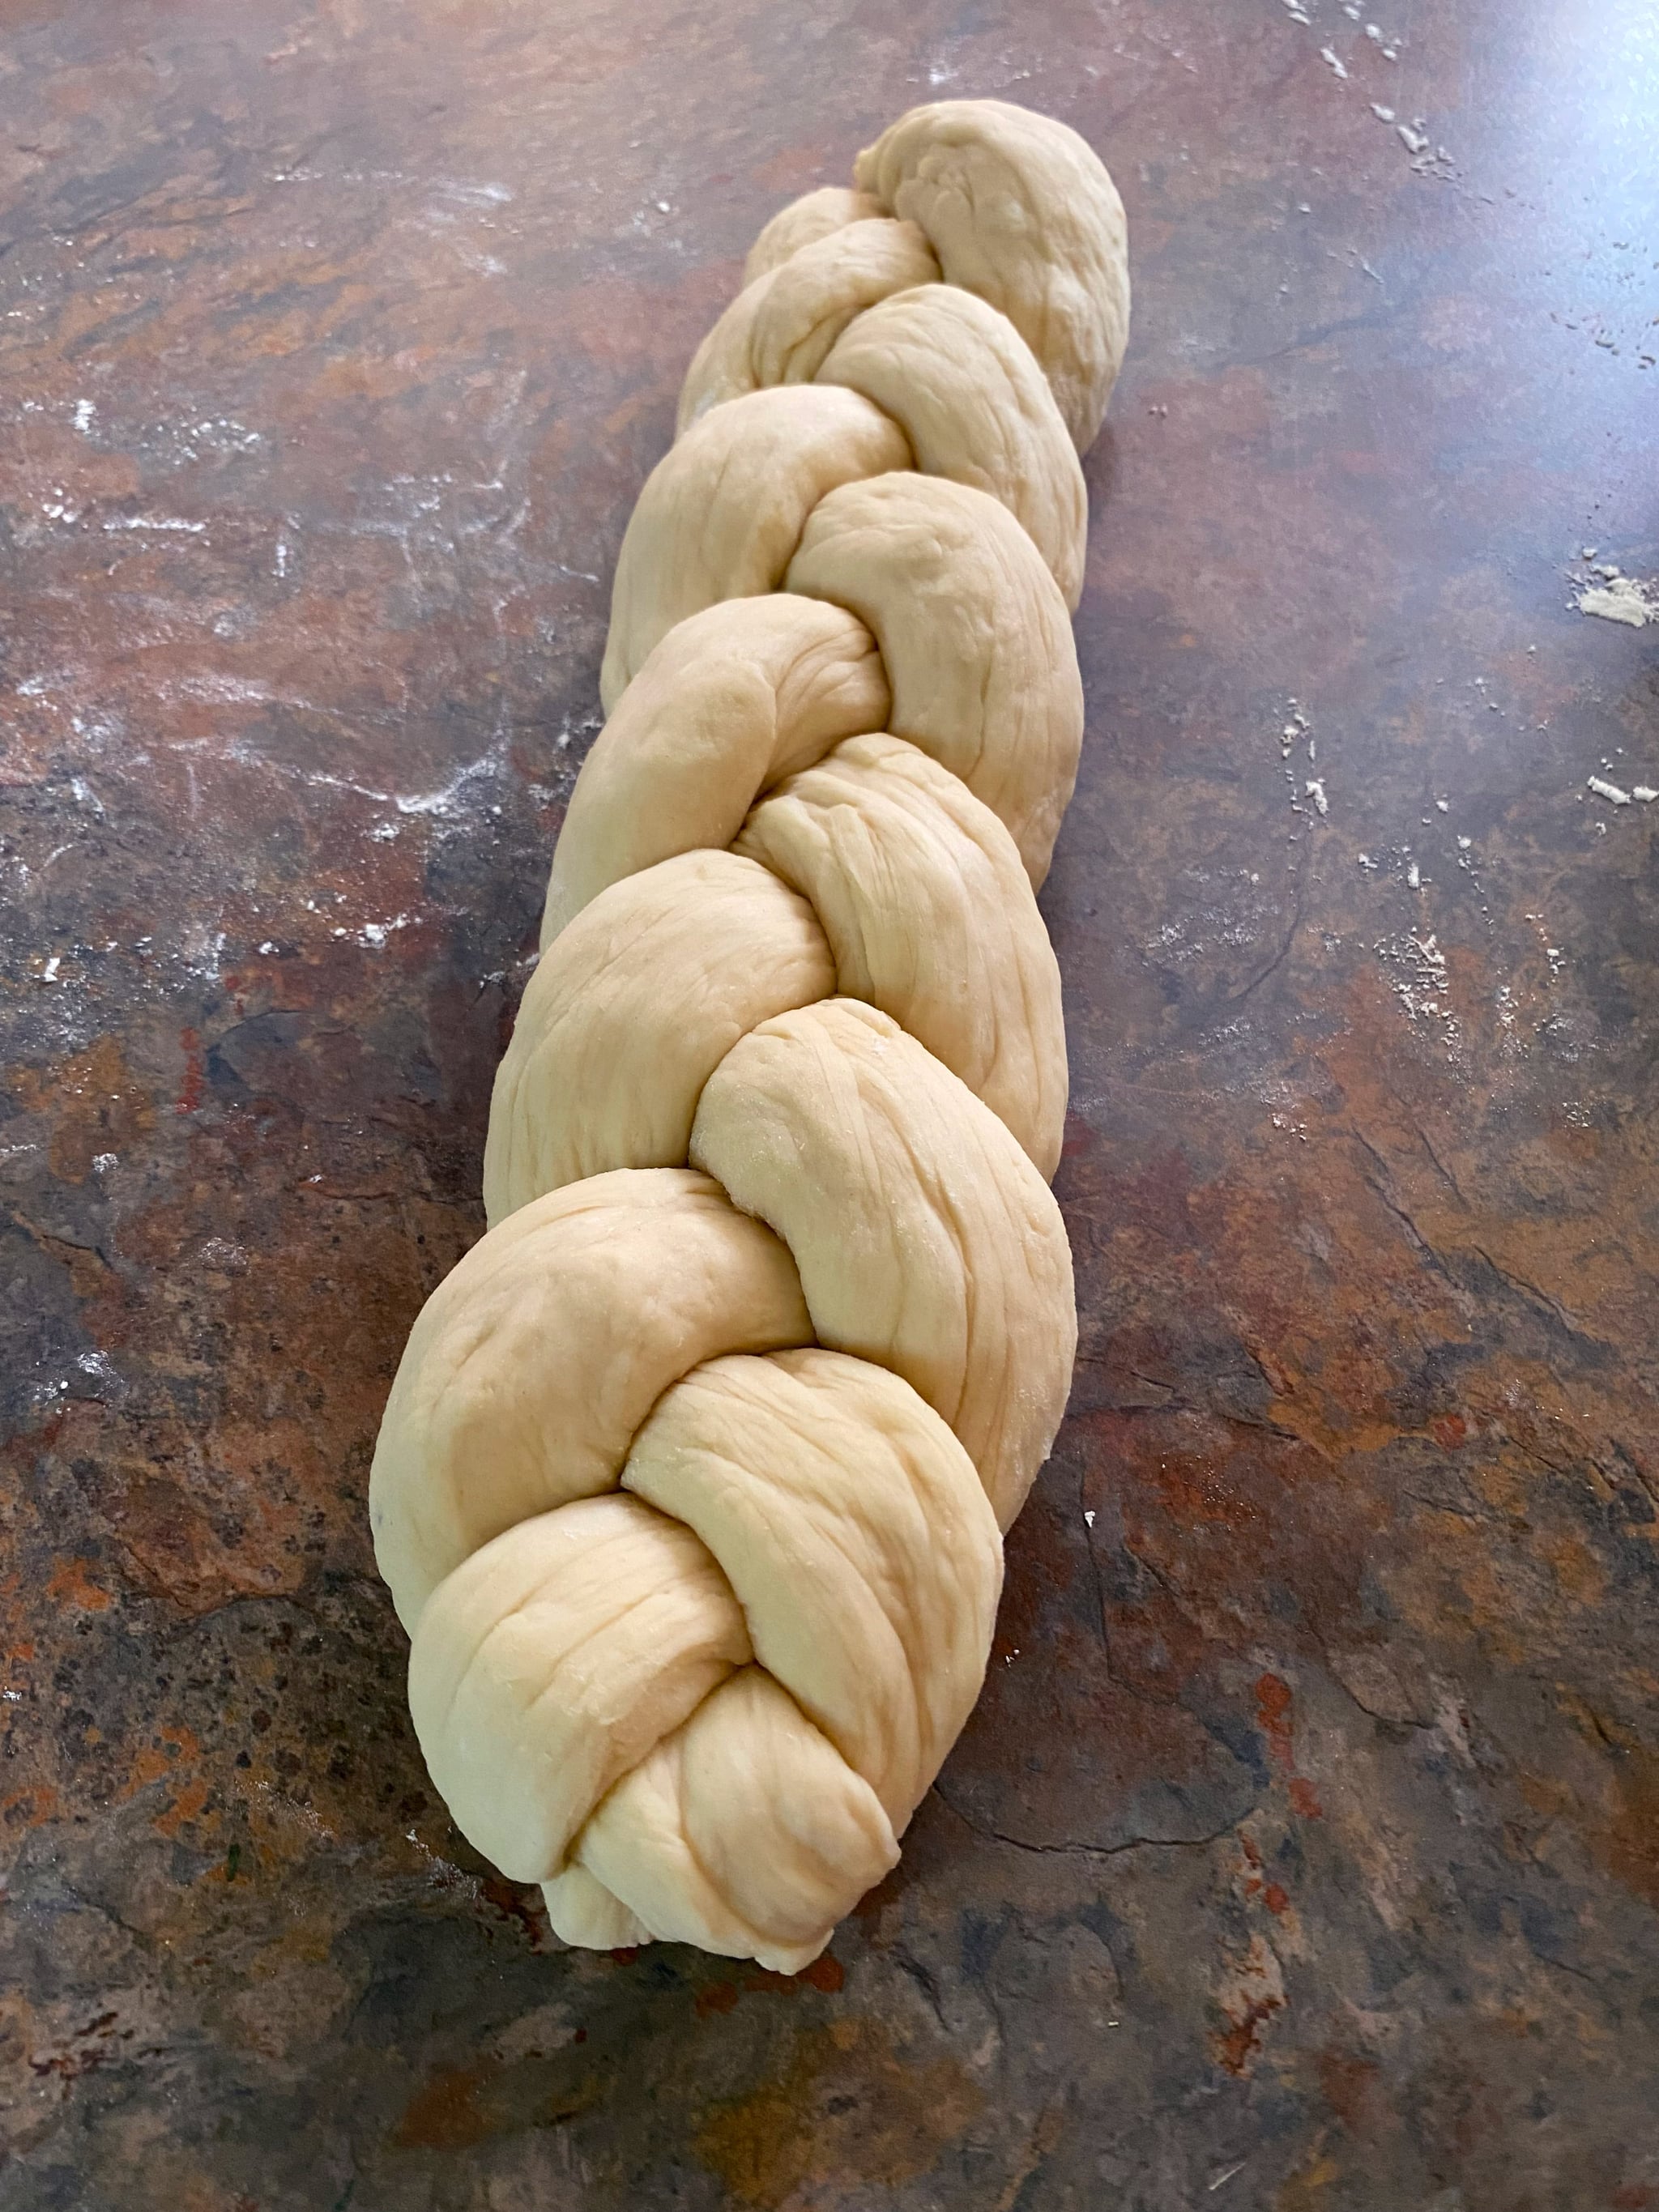
- Press the three strands together at one end, and then braid the dough using a regular braiding technique (like you’d use for hair). Or if you want to get fancy and do a four-, five-, or six-strand braid, watch this YouTube video for challah braiding inspiration.
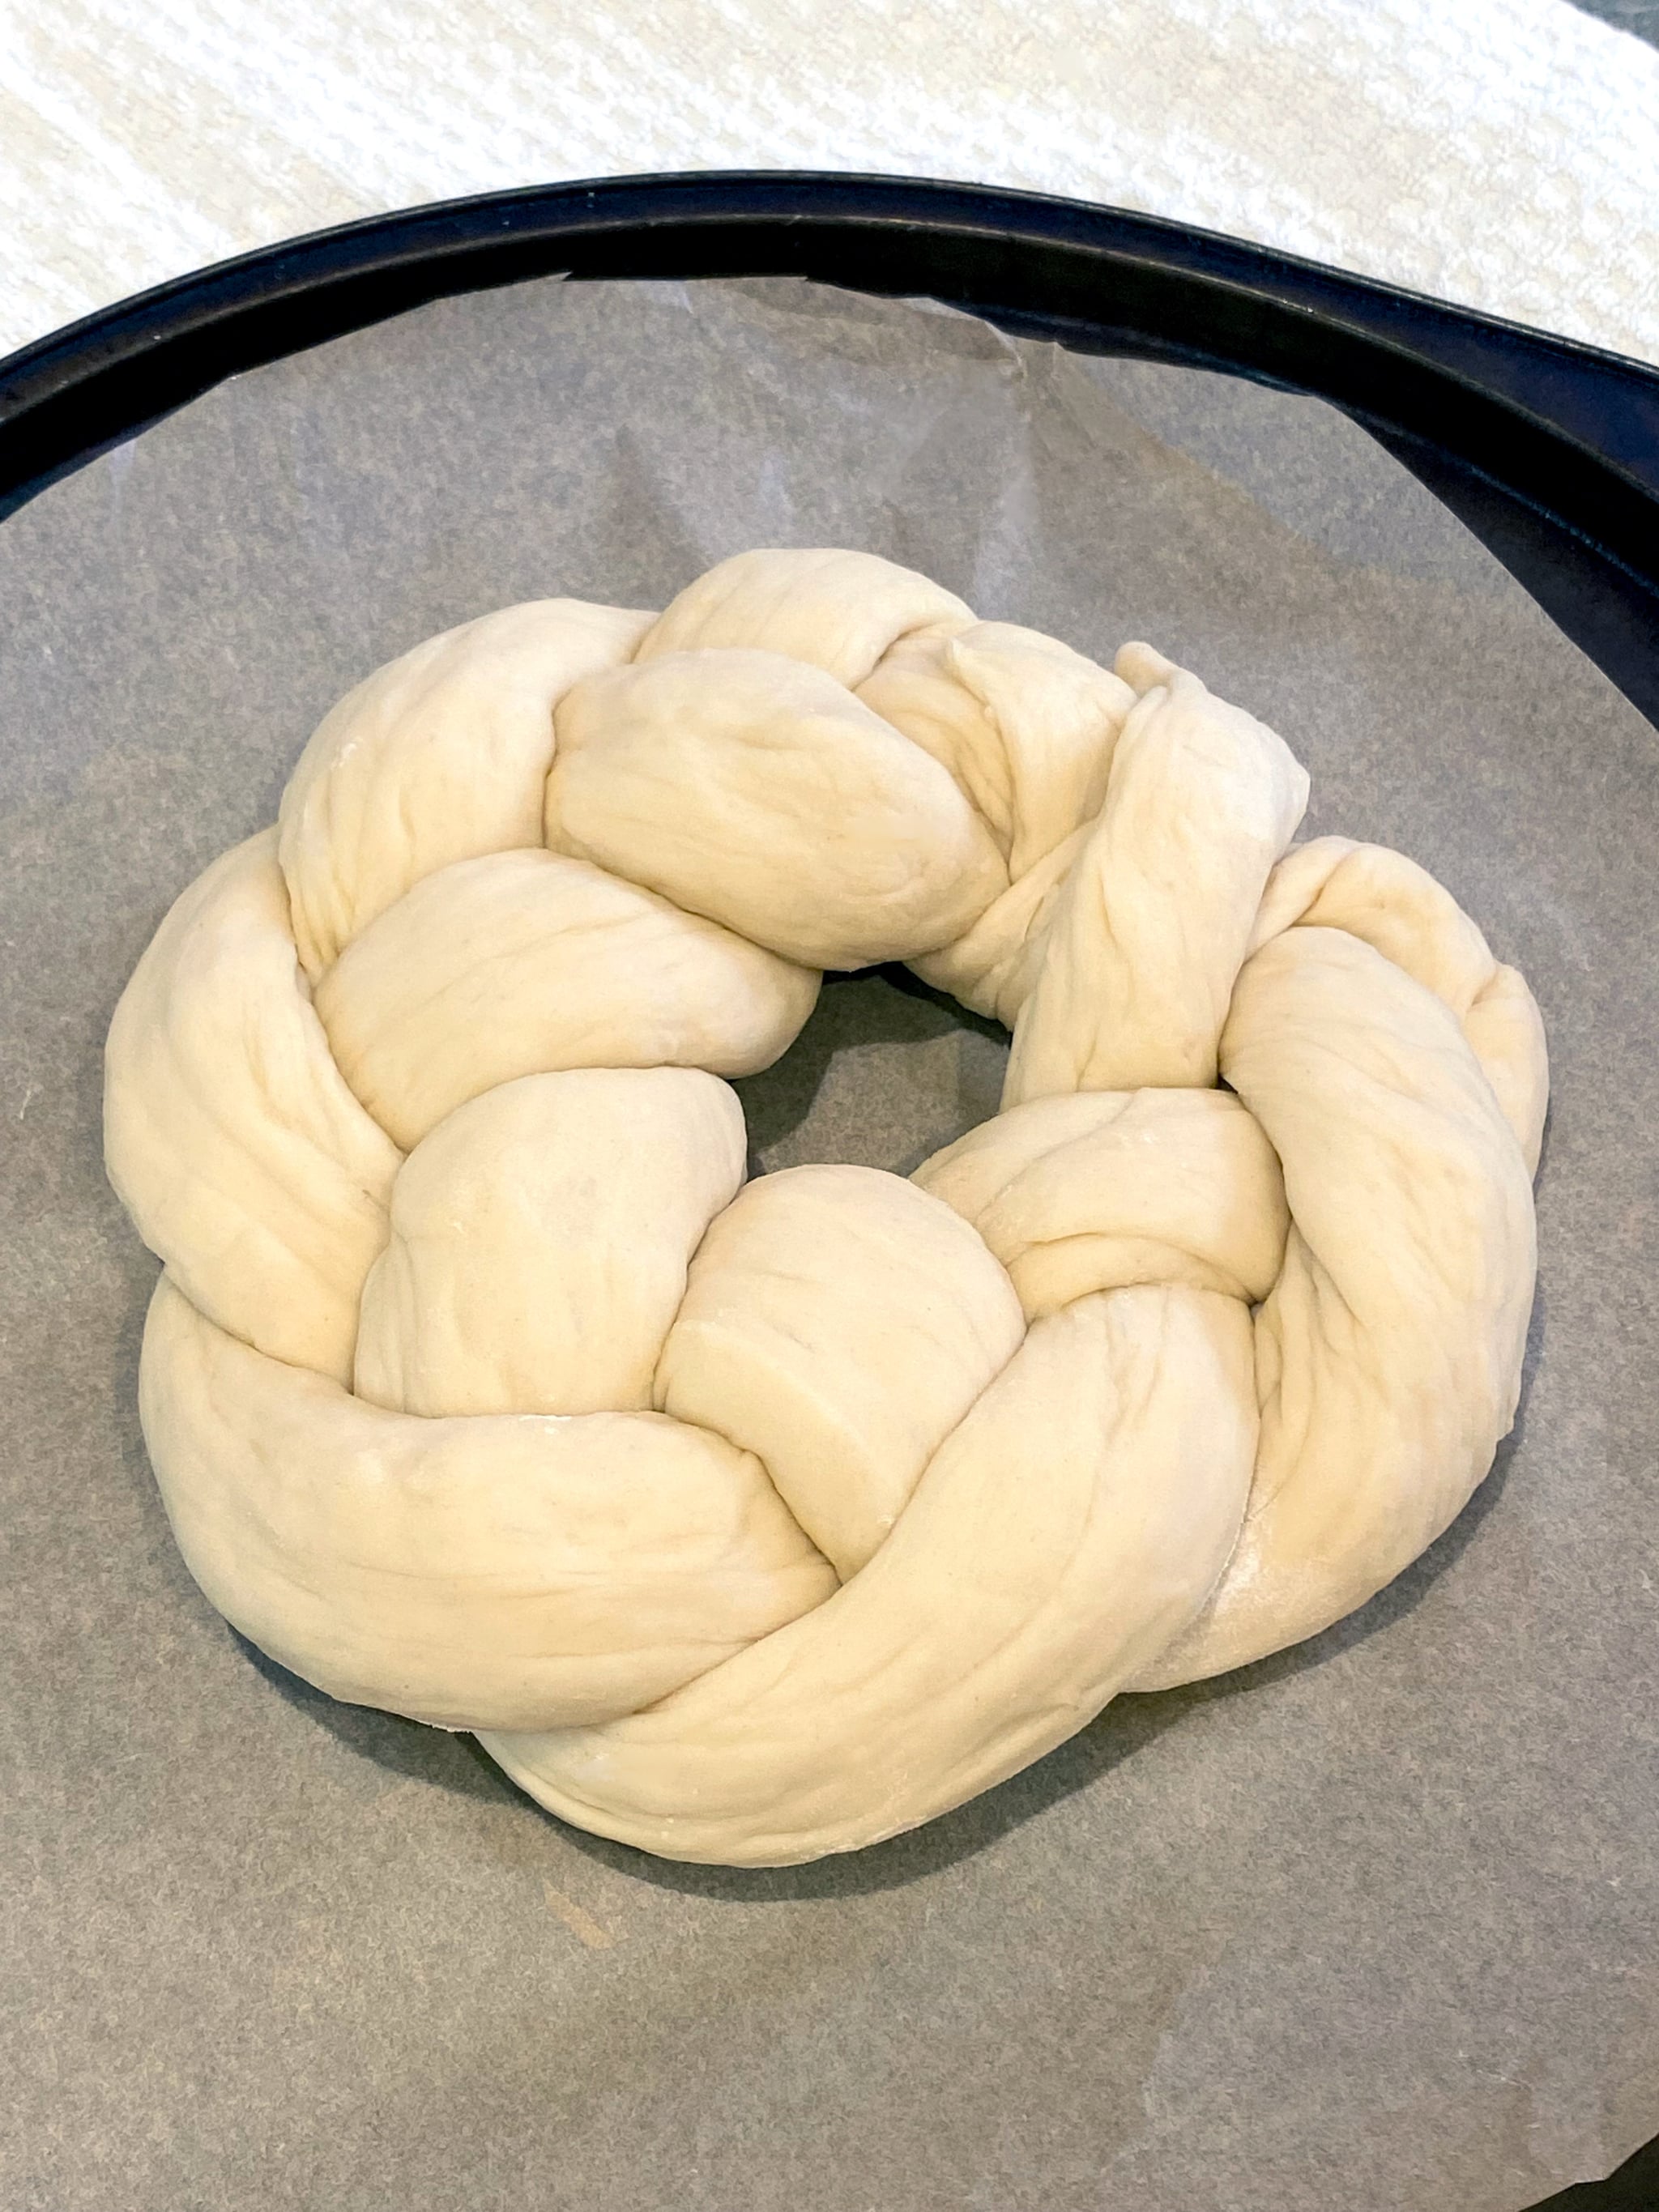
- After the braid is complete, you can leave it like this or make it a round loaf by curving the braid into a C-shape. Then connect the ends as best you can to make a circle. Don’t worry if it’s not perfect. The dough will smooth out when it rises.
- Place the dough on a parchment-lined baking sheet (I used a pizza pan), and cover it with a dry kitchen towel.
- Preheat your oven to 350°F.
- Place the dough on top of the oven to rise for 30 to 60 minutes.
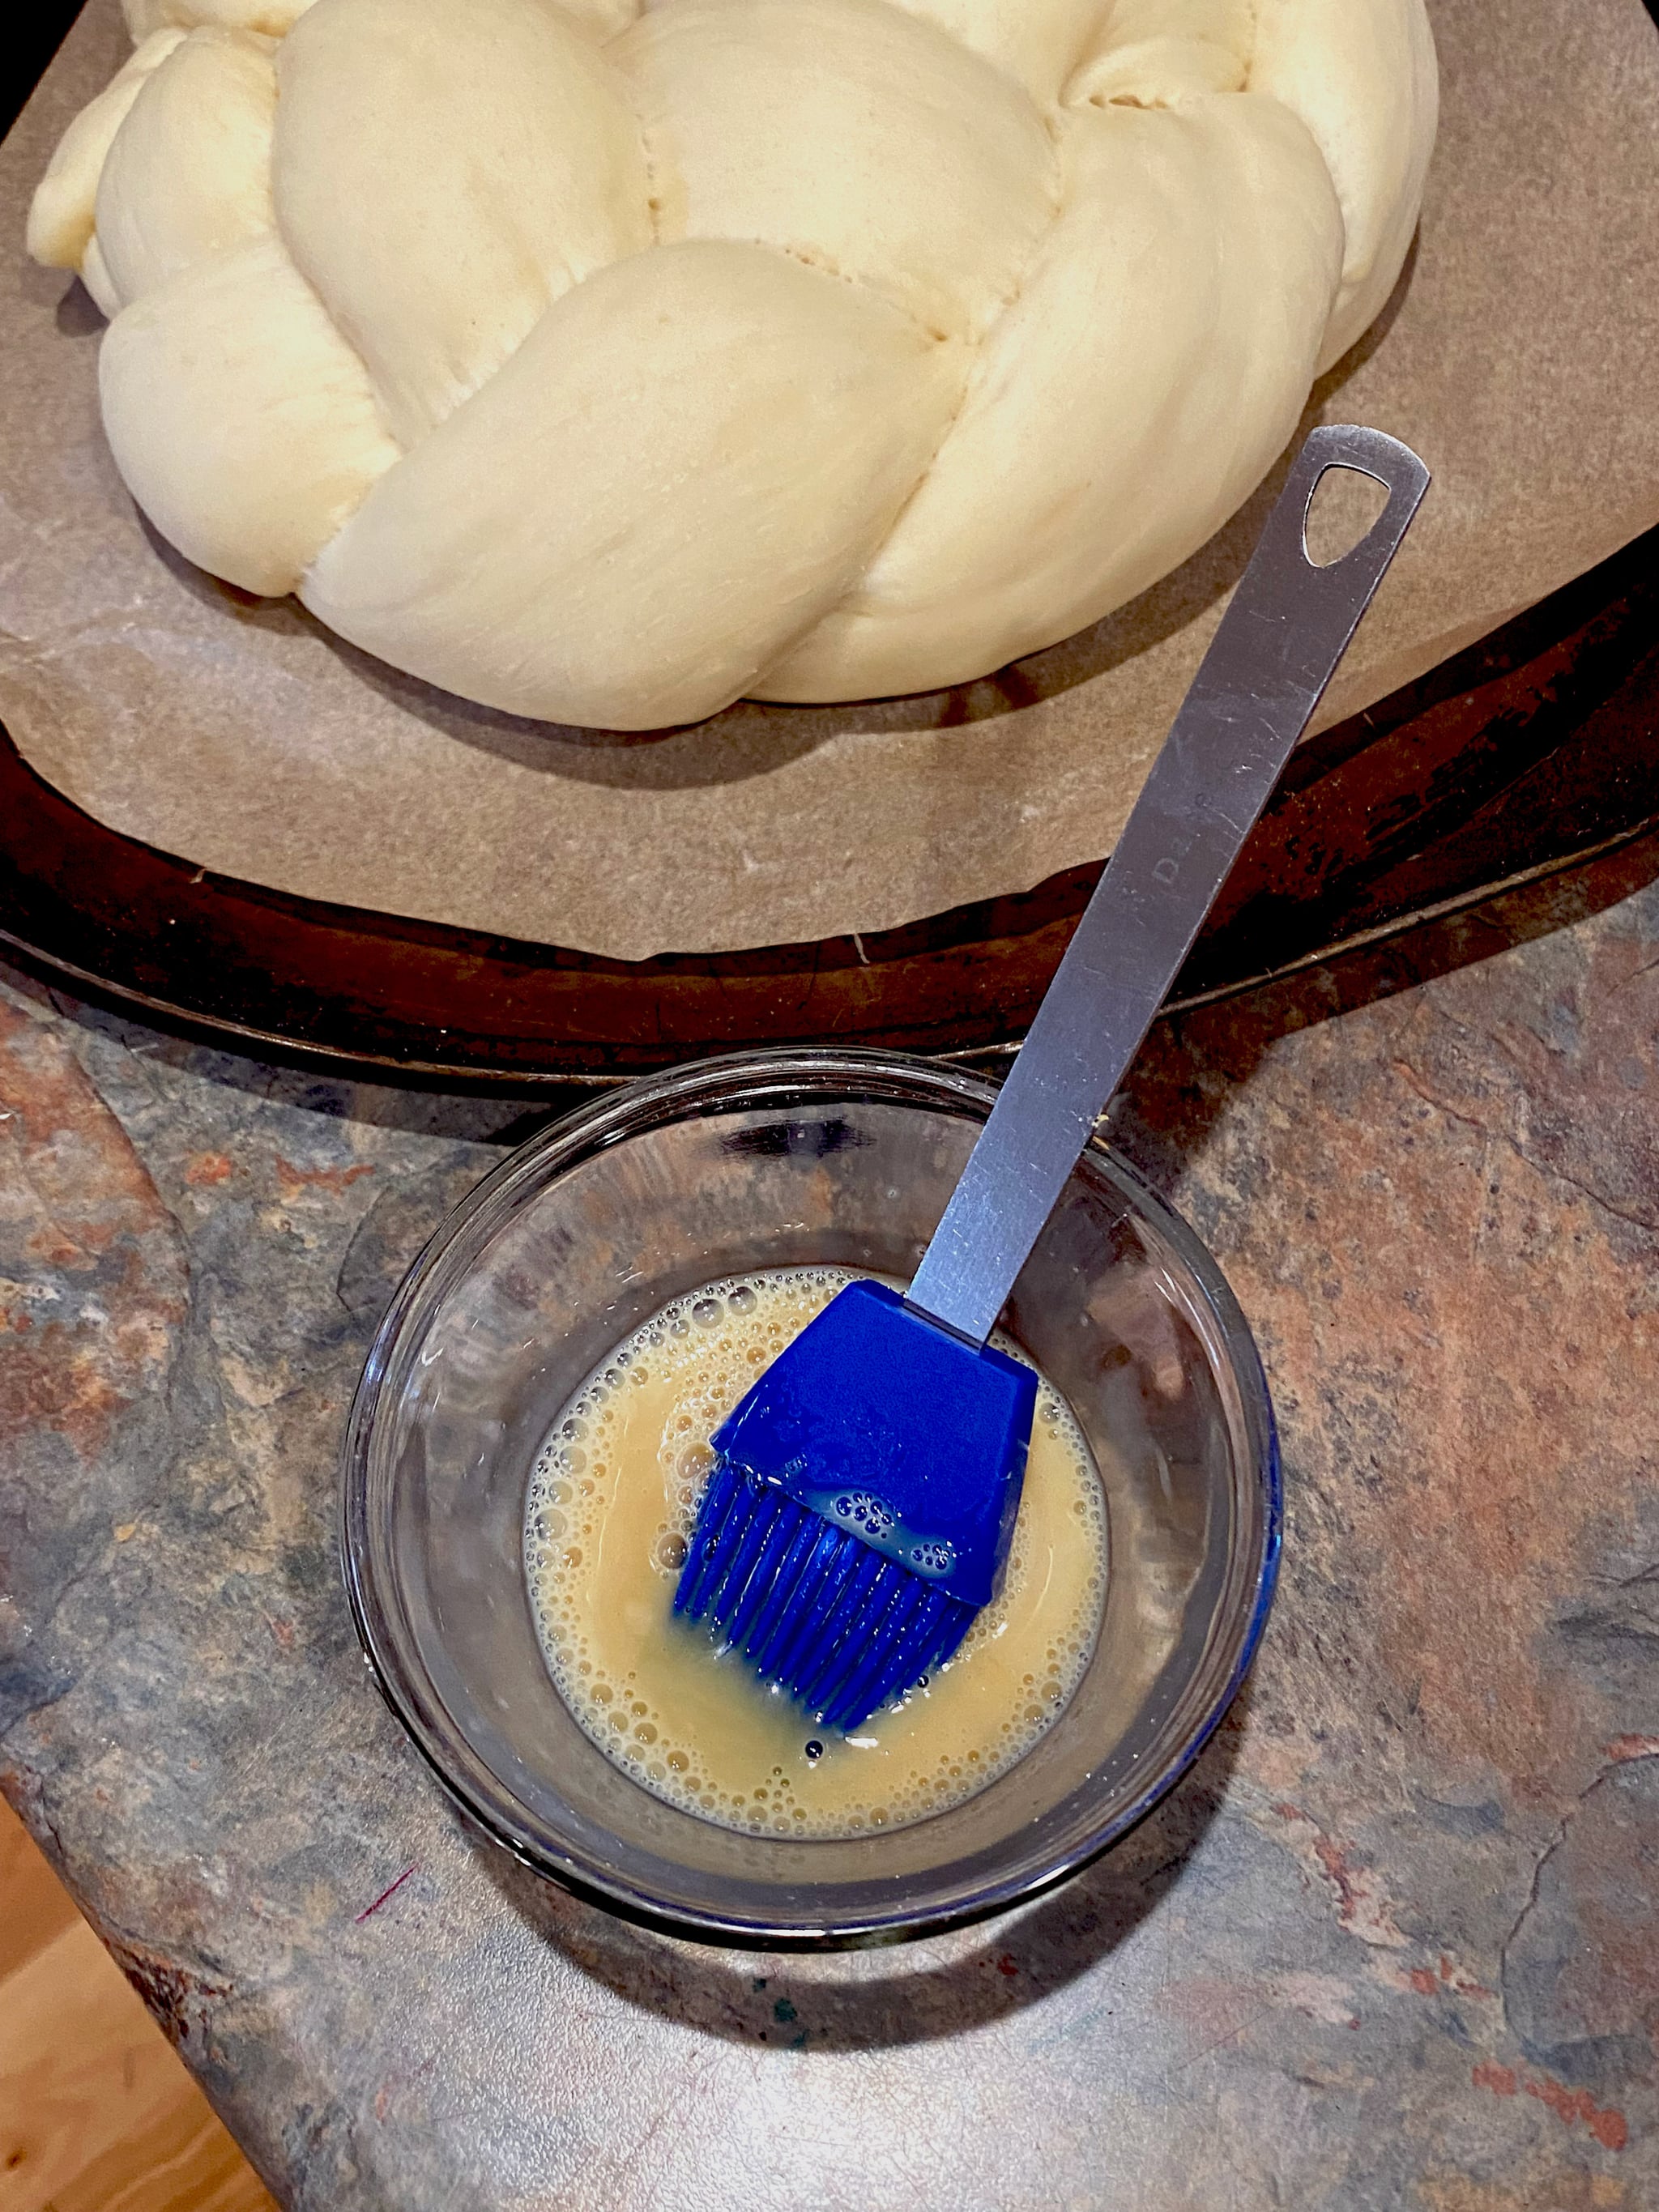
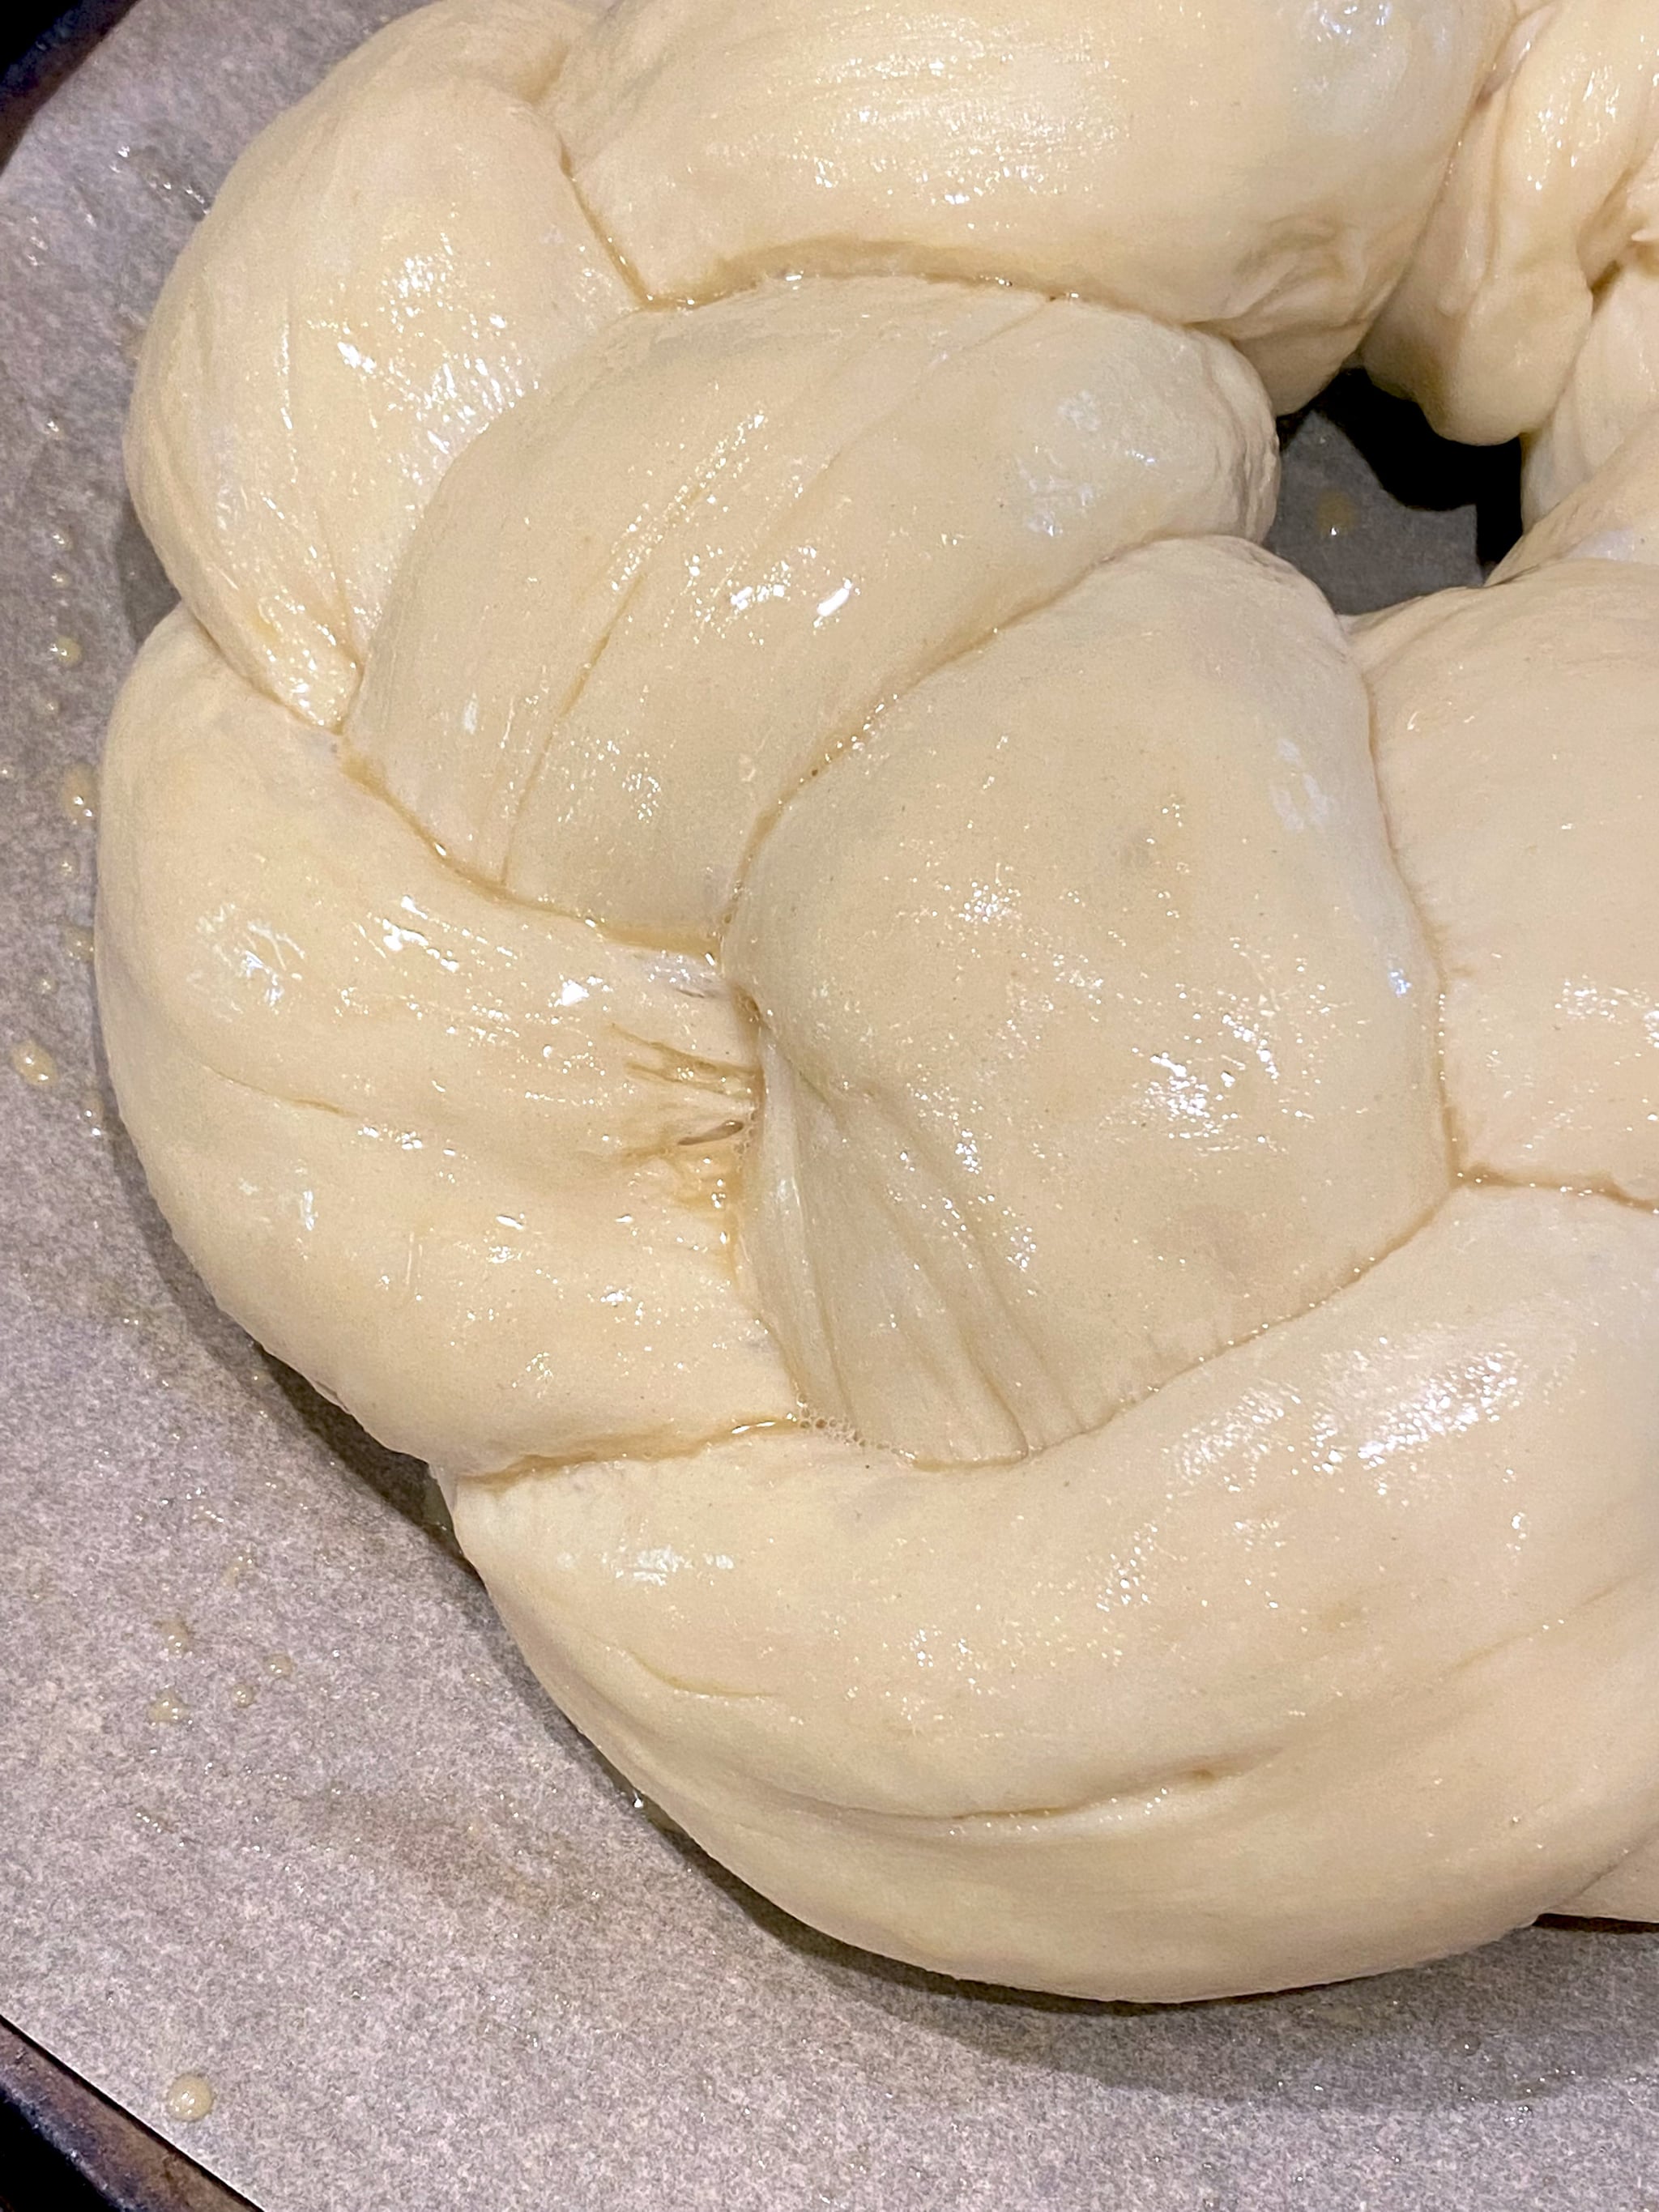
- Before baking, mix the soy milk and maple syrup together. Use a pastry brush to coat the top of the challah.
- Bake the challah for 20 to 30 minutes, or until the top is golden brown.
- Allow to cool for 10 minutes before enjoying.
Information
- Cuisine
- Jewish
- Yield
- 1 Loaf
- Prep Time
- 3 hours
- Cook Time
- 25 minutes
- Total Time
- 3 hours, 24 minutes, 59 seconds
